Cambium
Writing a note
The note screen: a page to write and draw on, with its links, files and history a tap away.
Every Writing a note feature
Add photos, recordings, PDFs and text files to a note. They're kept on the device first and listed under Files.
- Tap Photo or File in the toolbar.
- Files shows once the note has one.
Not in the demo. Needs a file from your device.
All 3 in Photos and filesA file that's only in your account downloads to this device.
- Tap Download beside the file.
Not in the demo. Needs an account: the demo has none.
Removes the file and its place in the note, after a confirmation.
- Tap Remove beside the file, then confirm.
Not in the demo. Needs a file from your device.
Signed in, files go up privately to your account and come down, checked, on your other devices; a failed upload says so with Retry.
- Nothing to do; tap Retry if an upload fails.
Not in the demo. Needs an account: the demo has none.
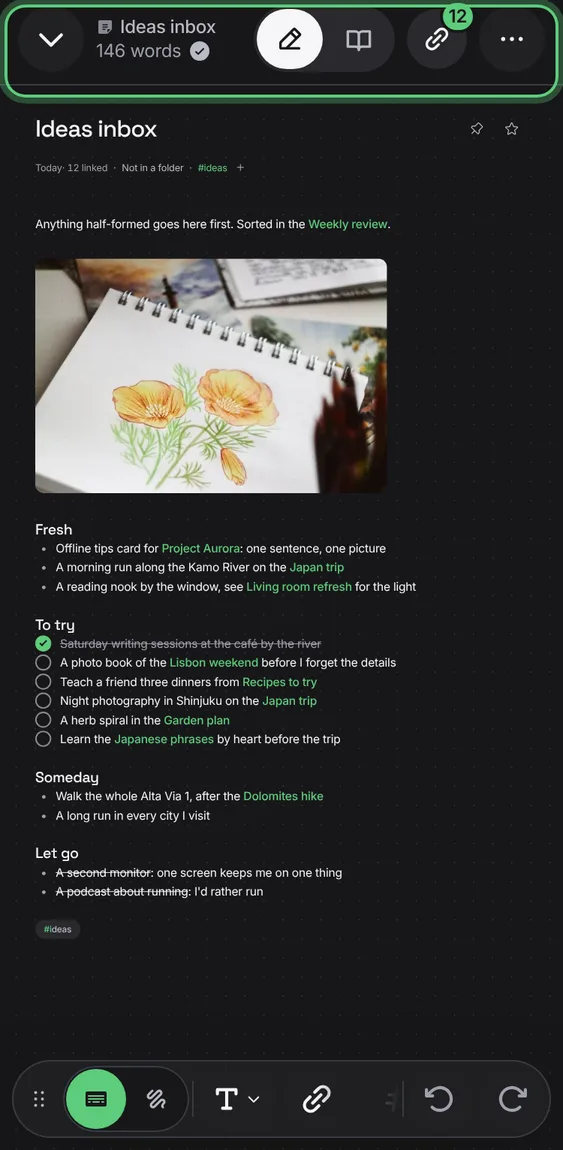
The way back, the note's name with its folder's icon, how many words it has and whether it's saved, Edit or Read, Links and More.
- Look at the top of a note.
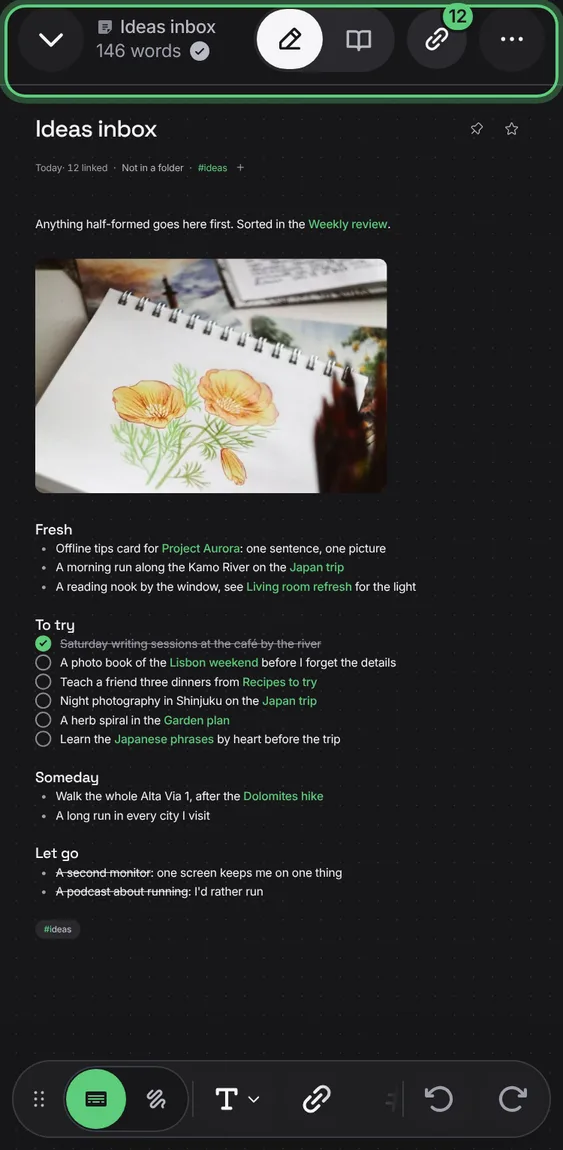
Following a link opens that note; Back returns to the one you came from.
- Tap a [[link]], then Back.
If the note changed on another device first, your text is never dropped: save it as a separate note, or leave it under Unfinished.
- Tap Save my text as a separate note, or Leave it for now.
Not in the demo. Needs a second device editing at once.
Every keystroke is kept on the device at once and saved moments later; a tick says it's saved. Leaving a note without changing it changes nothing.
- Just write. The tick shows when it's saved.
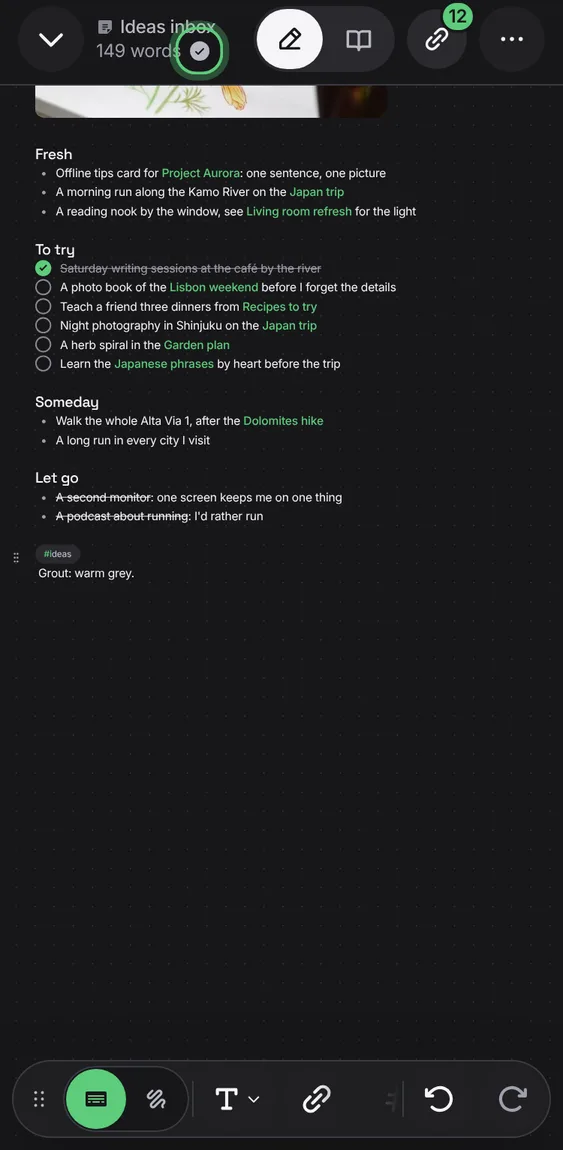
The bar says how many words the note has; pictures and drawings don't count.
- Read it beside the note's name.
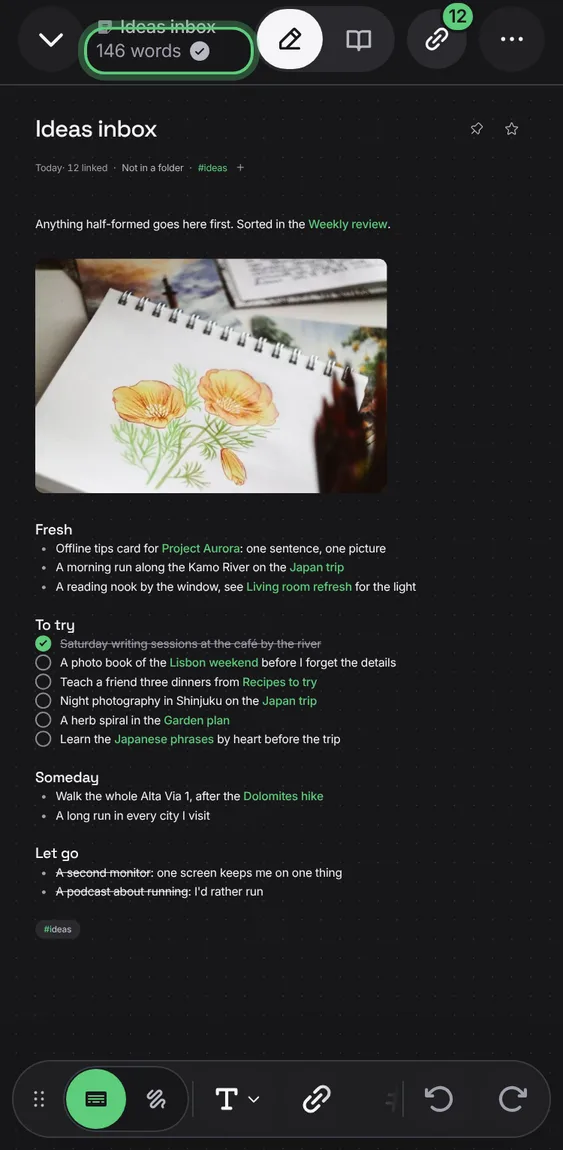
What a note is connected to, in one sheet: Backlinks, Outgoing, Outline and Graph. The bar's Links tool shows how many notes it's linked with.
- Tap Links in the note's bar.
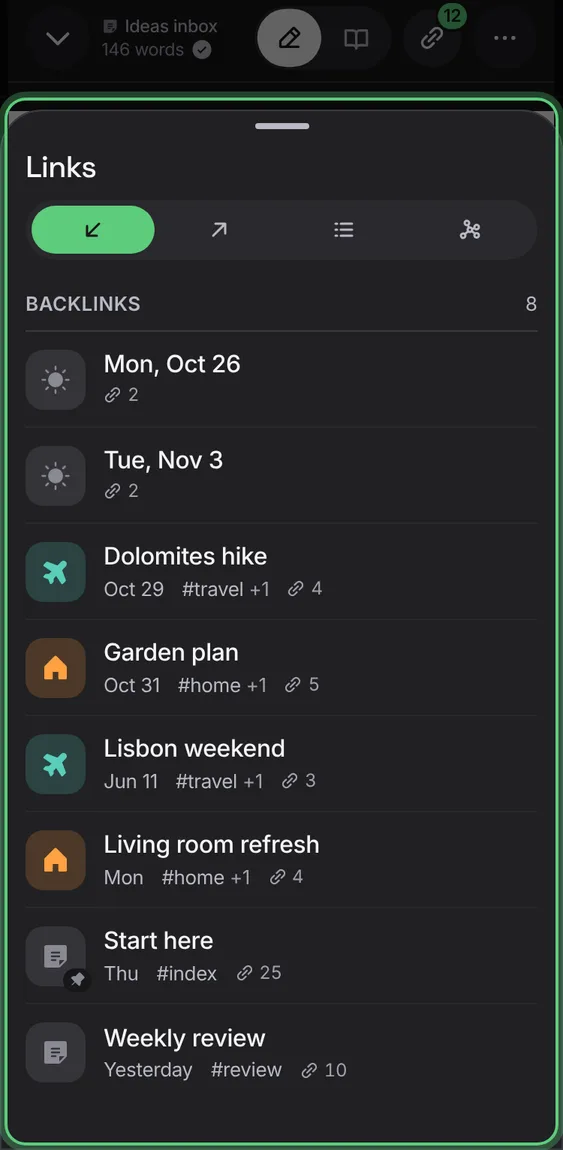
The notes that link to this one.
- Open Links; Backlinks is first.
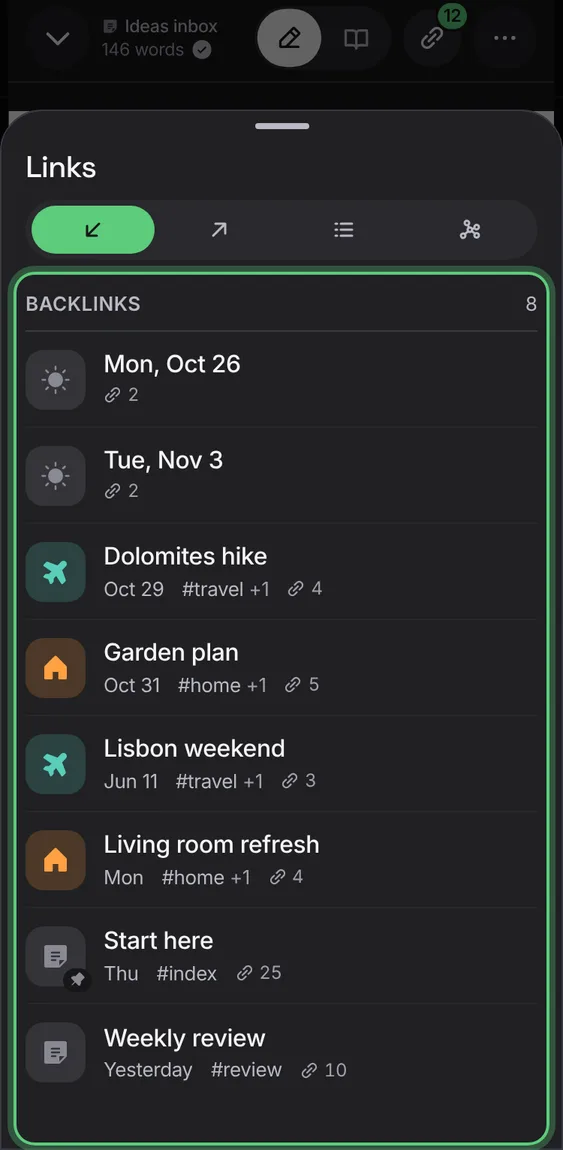
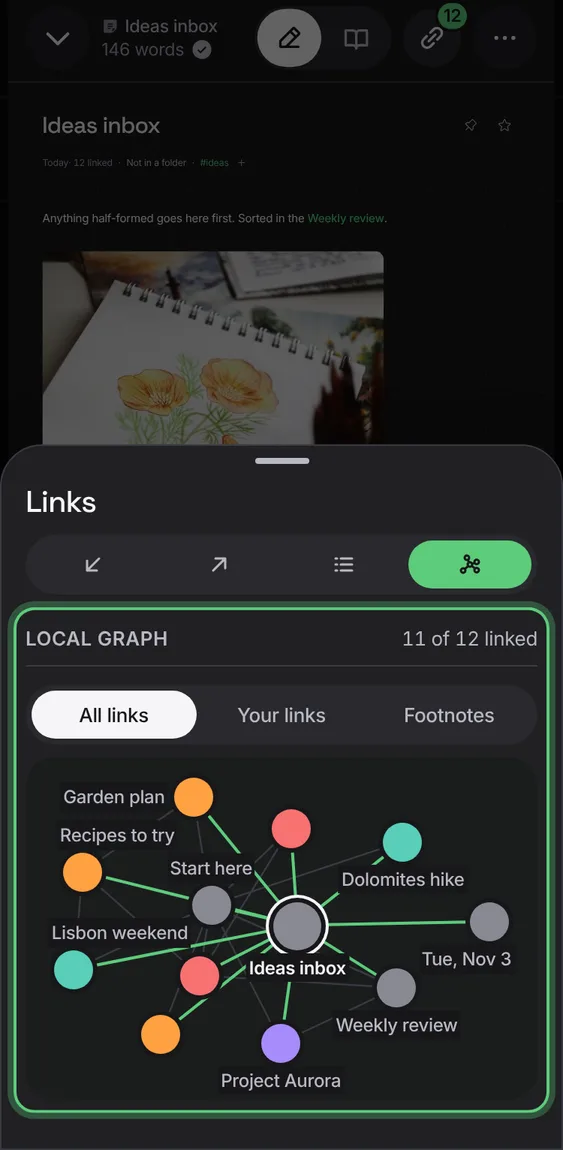
Up to 12 notes around this one: the ones it's linked with, then the ones a link further on, labelled with what it shows.
- In Links, tap Graph.
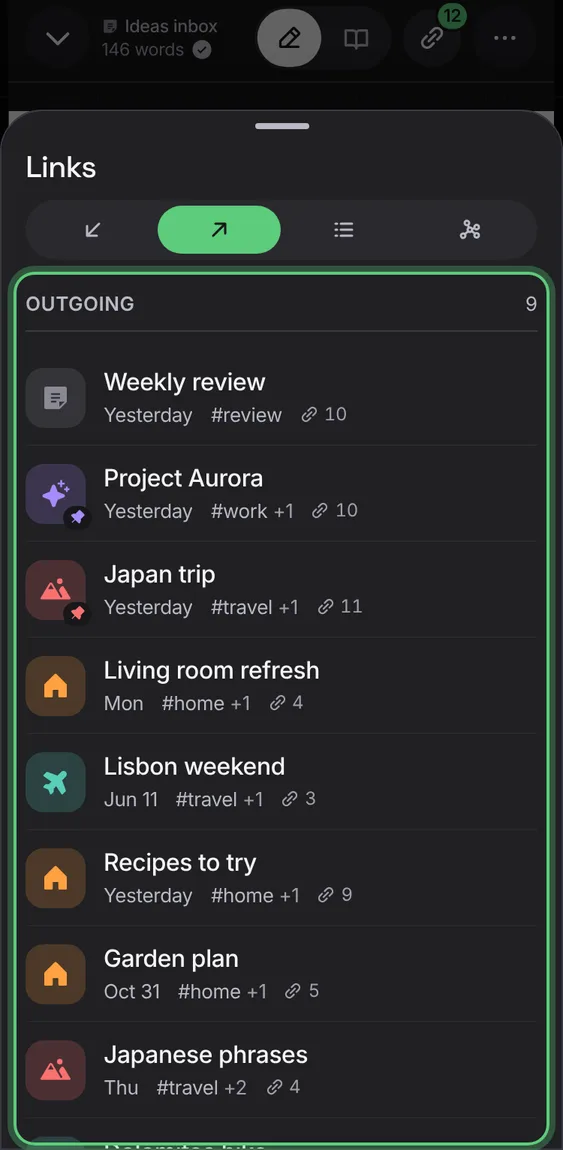
The notes this one links to, and names not created yet, each with Create.
- In Links, tap Outgoing.
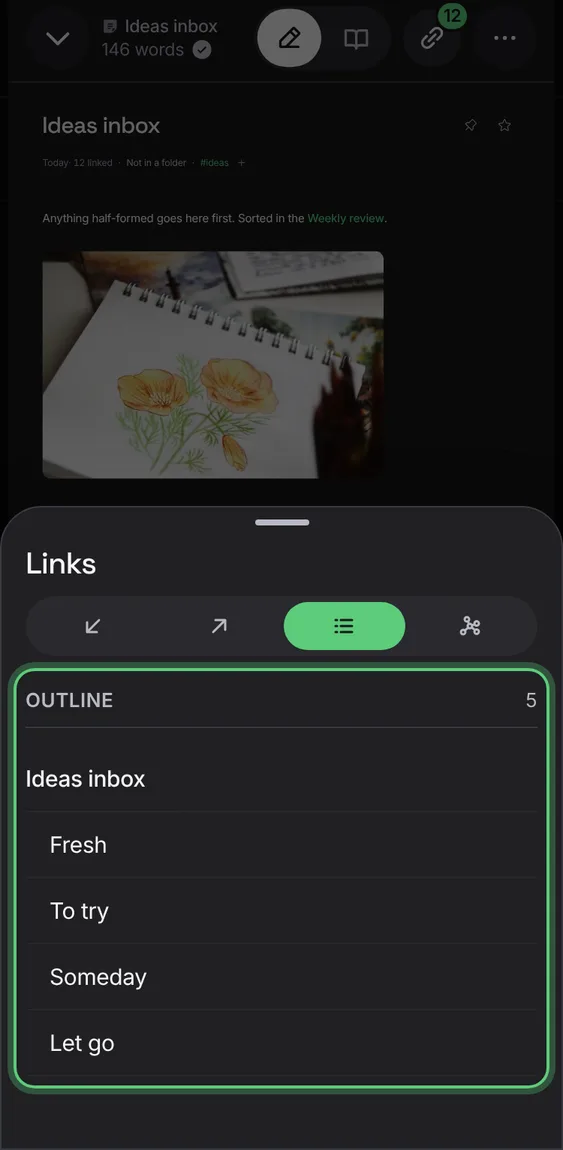
The note's headings; tap one to go to it.
- In Links, tap Outline.
The web pages and files a note links, read so they're searchable with it, each saying honestly whether it could be read.
- In Links, tap Outgoing; Sources follows.
Not in the demo. Needs an account: the demo has none.
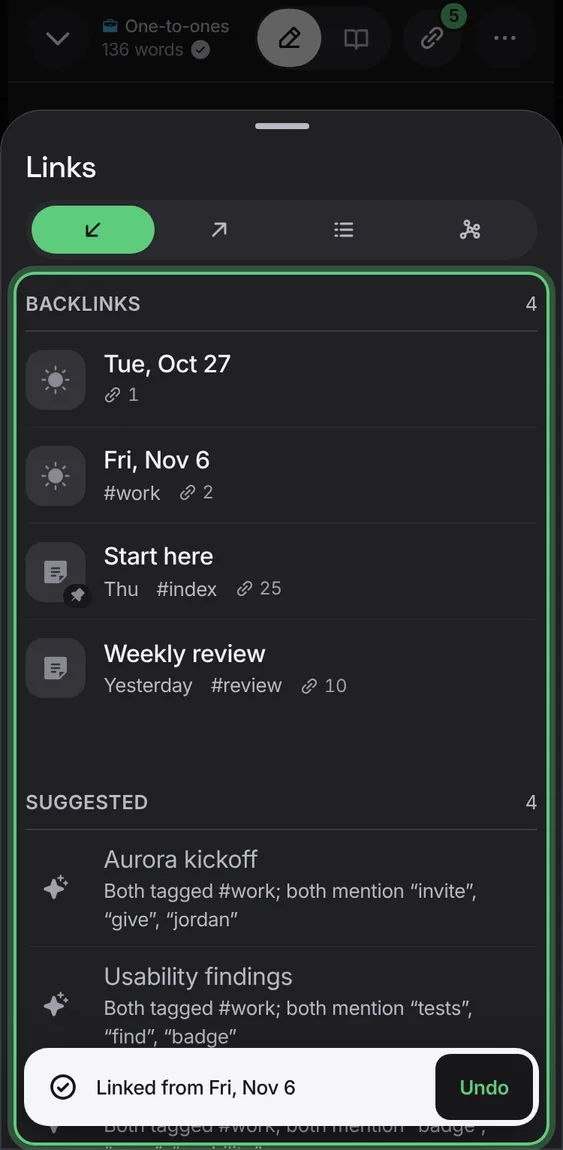
Notes that name this one without linking it; Link adds the link in that note, with Undo.
- In Backlinks, tap Link beside a mention.
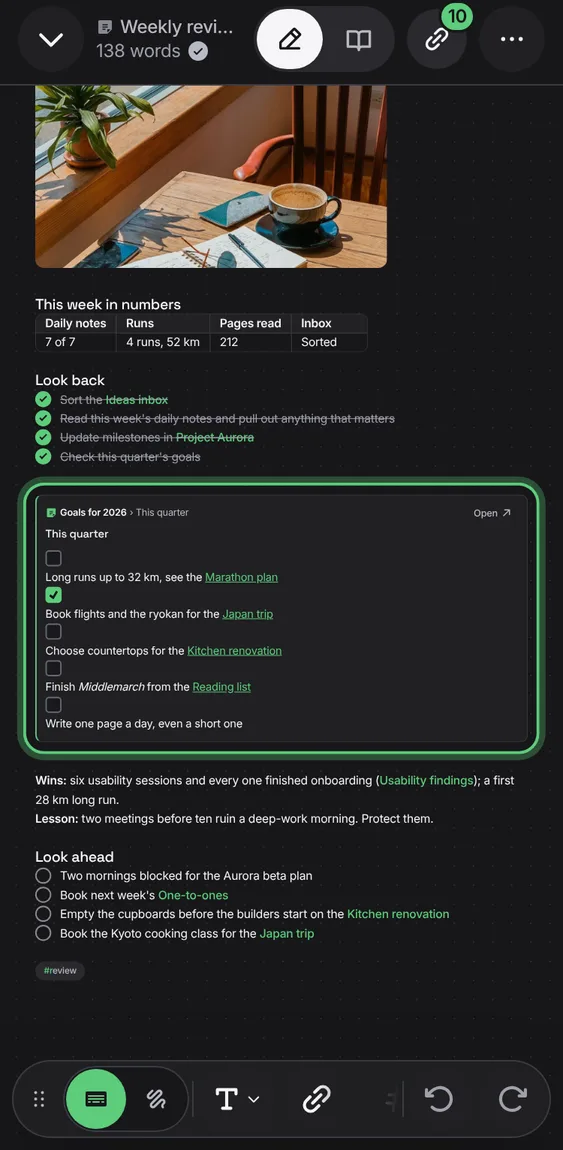
![[Note#Heading]] on its own line shows that part of another note in a card that stays current, with Open.
- Type ![[ and pick a note and heading, or choose it from the / menu.
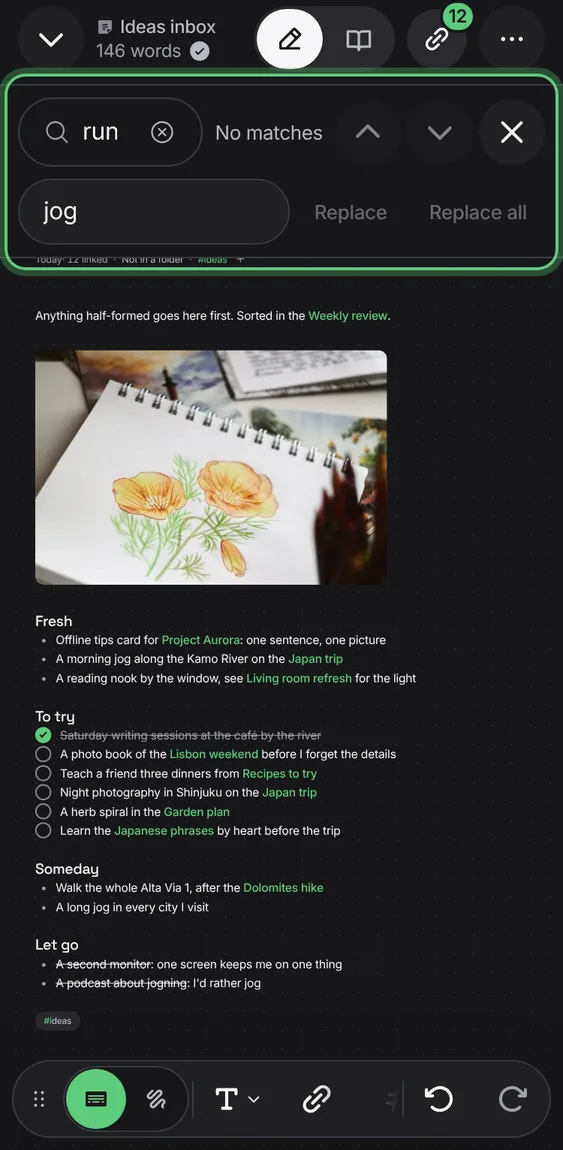
Find words in the note, step through every match either way, and replace one or all.
- Tap More → Find in note, or press ⌘F.
- Enter goes to the next match; Escape closes.
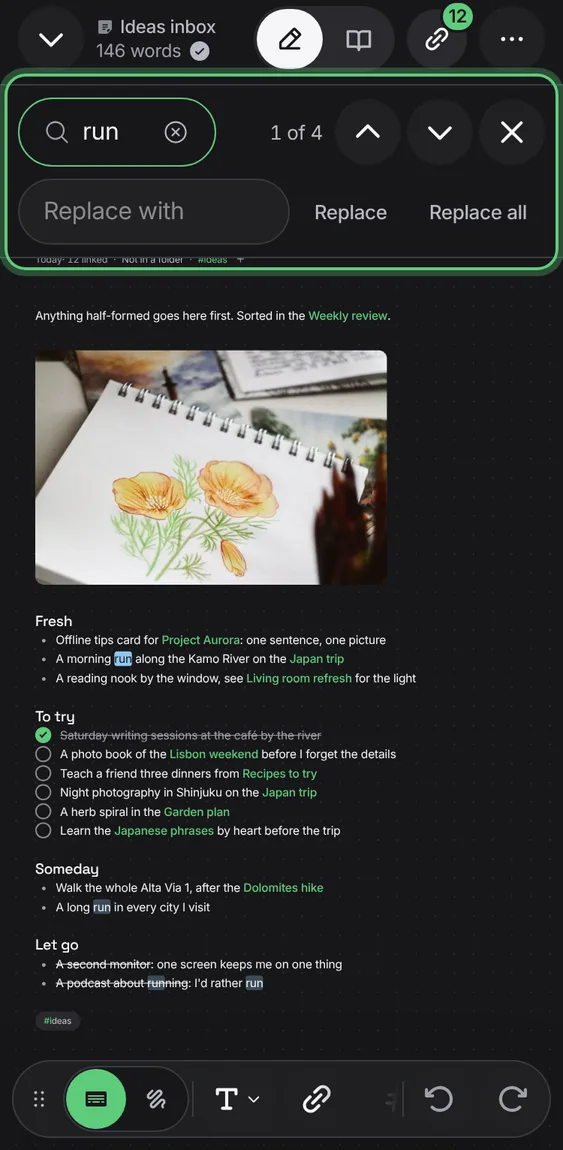
Replace the current match or all of them, each one step to undo.
- Type in Replace with; tap Replace or Replace all.
A word another of your notes explains gets a small number; tap it for that note's words. Footnotes are laid over the note, never written into it.
- Tap a footnote's number, or a row under Footnotes after the text.
Not in the demo. Needs an account: the demo has none.
All 2 in FootnotesHides just that footnote, with Undo; the others stay.
- Open a footnote; tap Hide this footnote.
Not in the demo. Needs an account: the demo has none.
Turns the footnoted word into a real link to the note that explains it, with Undo.
- Open a footnote; tap Link it here.
Not in the demo. Needs an account: the demo has none.
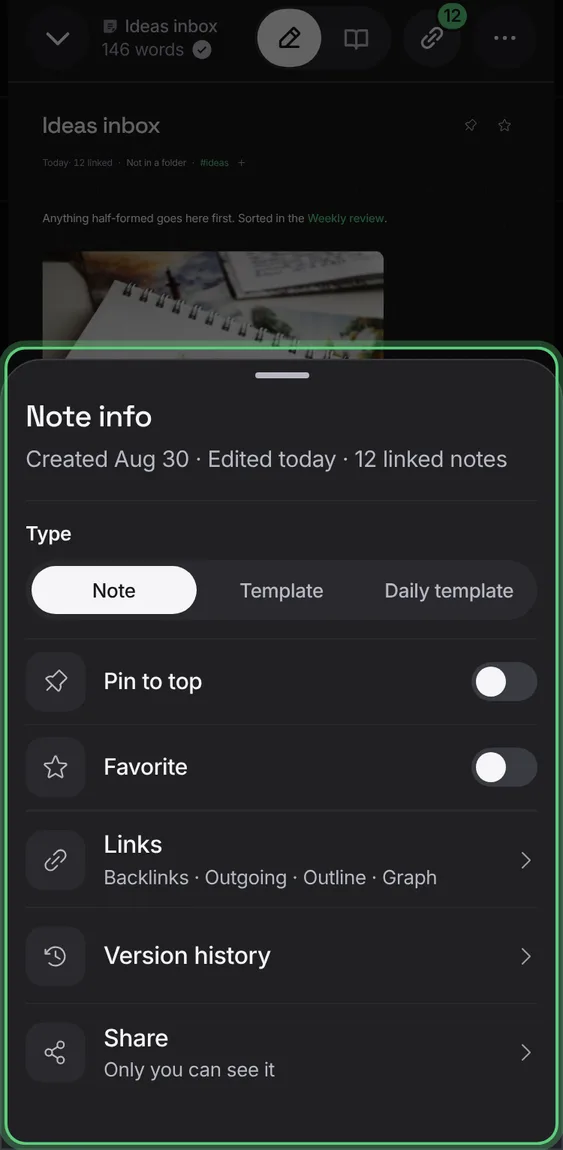
When the note was made and edited and how linked it is, and what the note is: a note, a template or the daily template; Pin, Favorite, Version history and Share.
- Tap the date under the title.
Draw, highlight and write by hand anywhere on the page, over the text, with an Apple Pencil, another pen, a finger or a mouse.
- Tap Draw in the toolbar, or start writing with a Pencil.
- Tap Write to go back to typing.
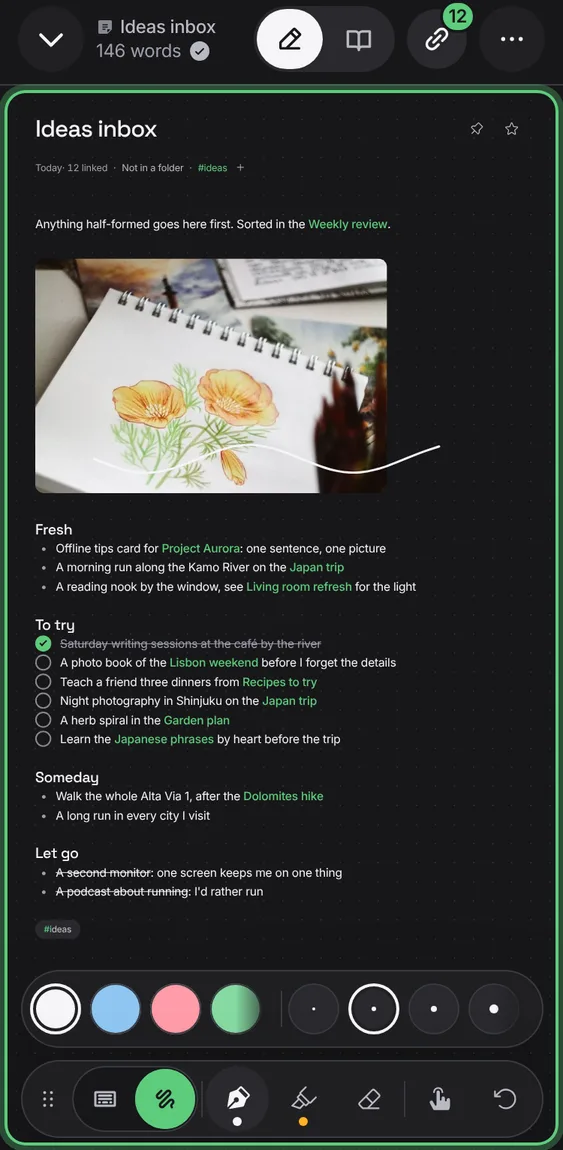
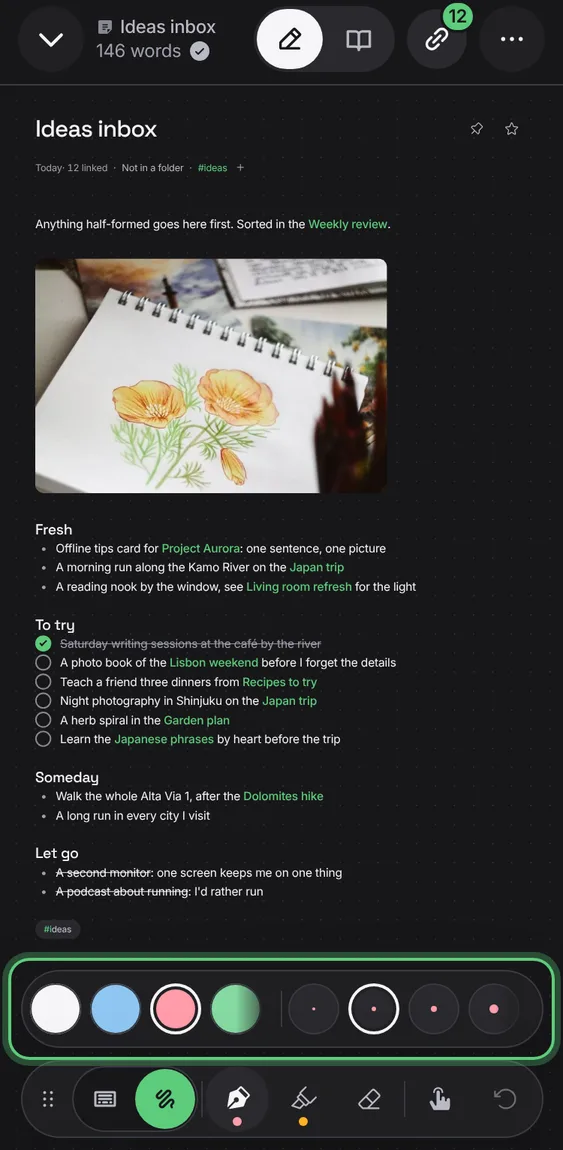
Pick a colour and a size for each pen; add your own with + and they go with your account.
- In Draw, tap a colour or size; + adds one.
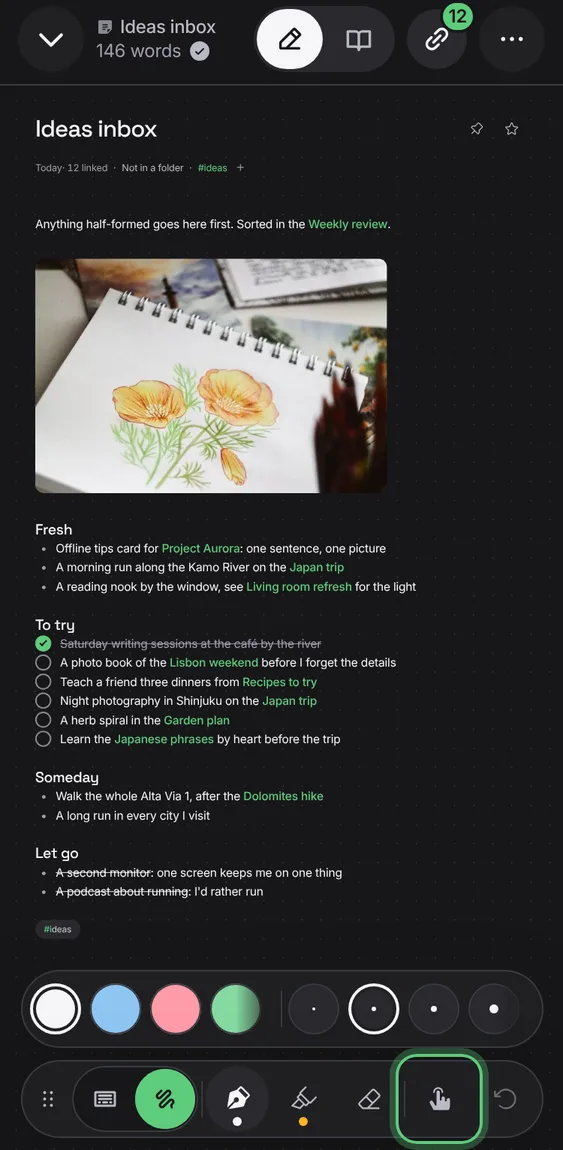
Each device draws with a finger or with the Pencil, shown by an icon you tap to switch; two fingers always move and zoom.
- In Draw, tap the finger or Pencil icon.
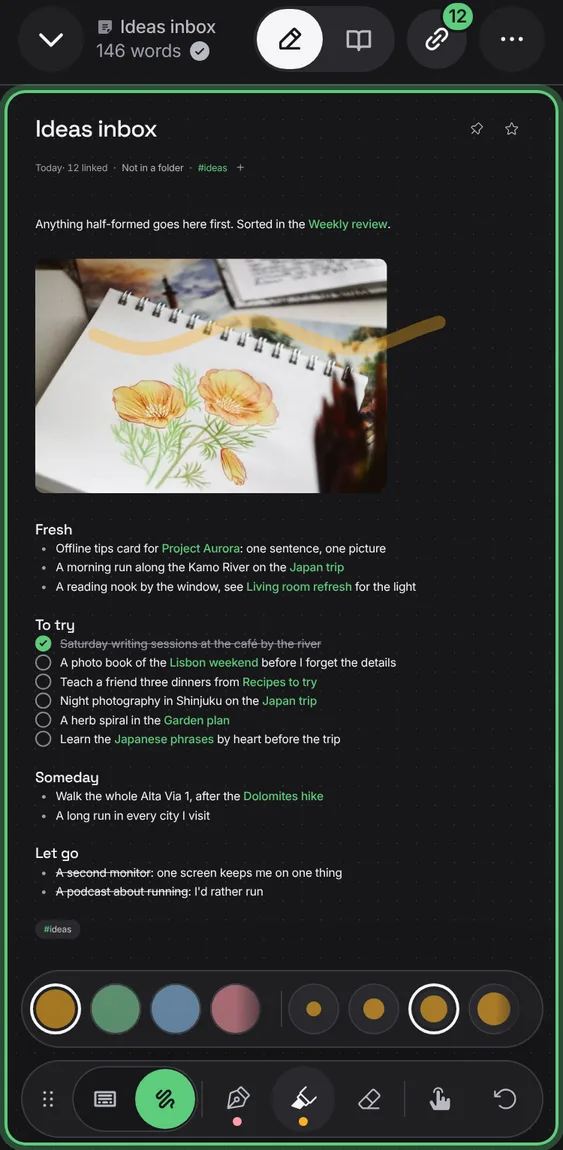
A highlight, underline or strike-through drawn on words stays with those words, and helps search find them.
- Highlight or underline words with the pen.
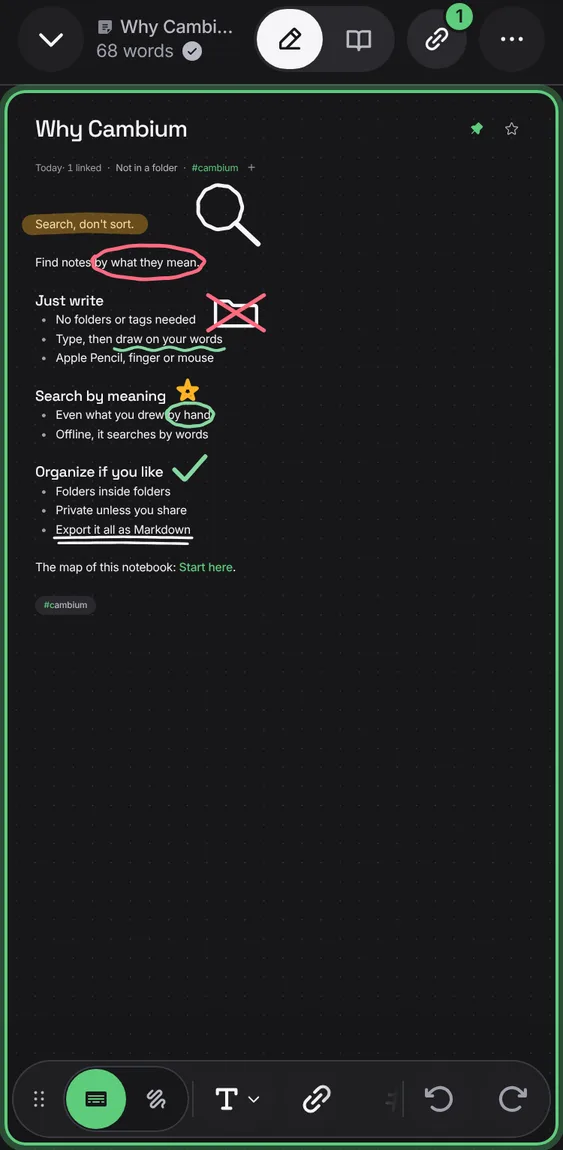
Ink stays on the page where it was drawn, over the same words on every screen, while text changes under it.
- Draw; then type, and the ink stays put.
With a Pencil you just write: nothing to open first, and a resting palm draws nothing.
- Write on the note with the Pencil.
Not in the demo. Needs an Apple Pencil.
On an iPad, turn the Pencil's handwriting into typed text instead of ink, until a drawing tool is chosen again.
- In Draw, turn on Pencil writes text.
Not in the demo. Needs an Apple Pencil.
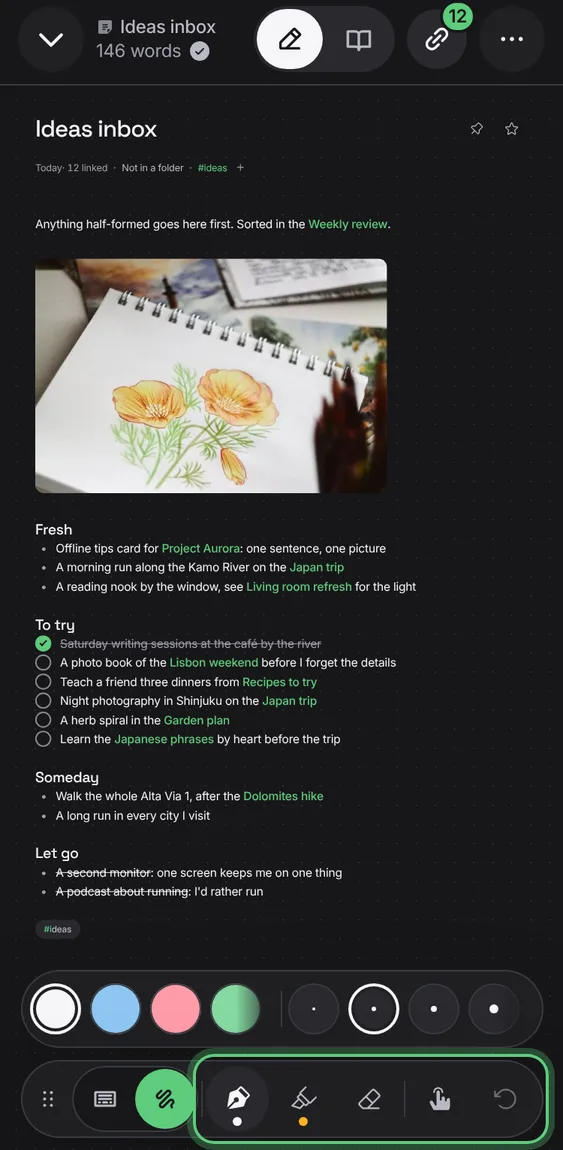
Draw with the pen, mark with the see-through highlighter, and erase whole strokes.
- In Draw, tap Pen, Highlighter or Eraser.
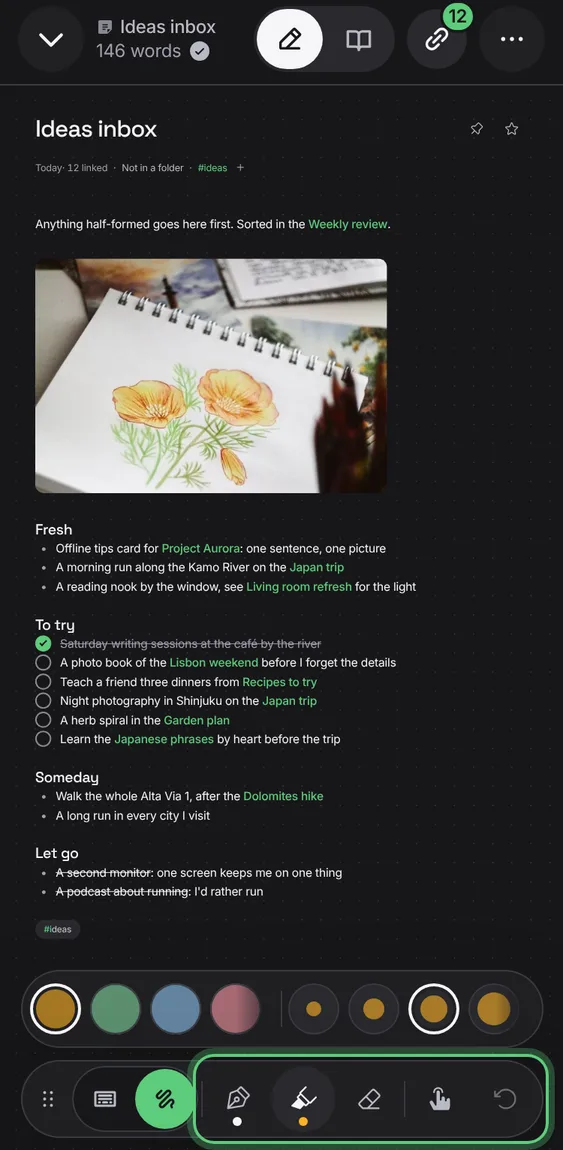
Undo ink takes back the last stroke; a quick two-finger tap does too.
- Tap Undo ink, or tap with two fingers.
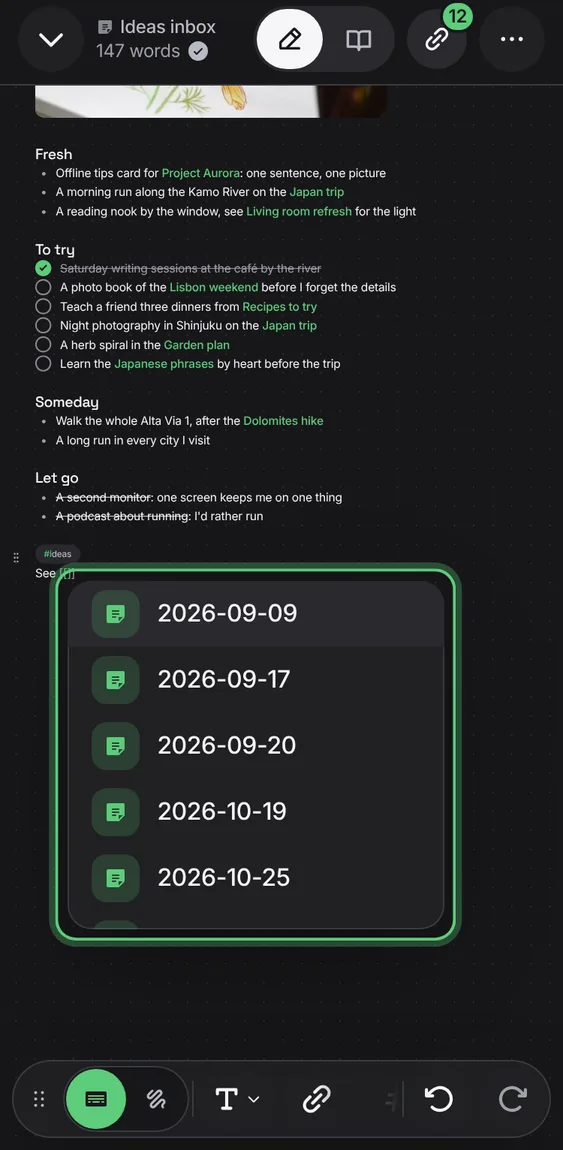
Type [[ to link another note by its name; links follow renames and point at the note, not its name.
- Type [[ and pick a note, or keep typing a new name.
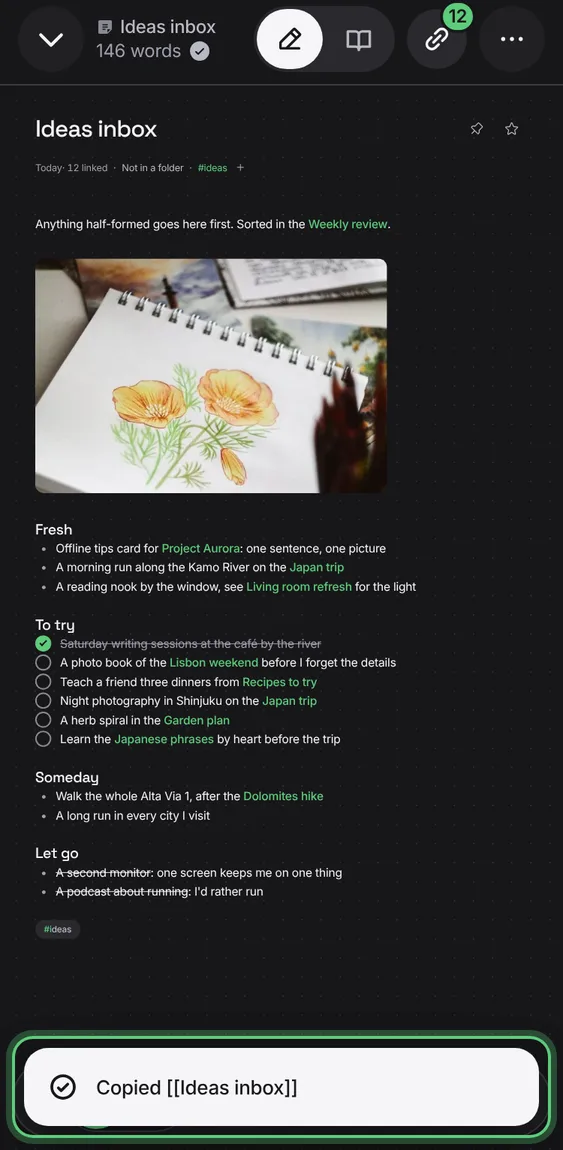
Copies [[the note's name]] to paste in another note.
- Tap More → Copy link.
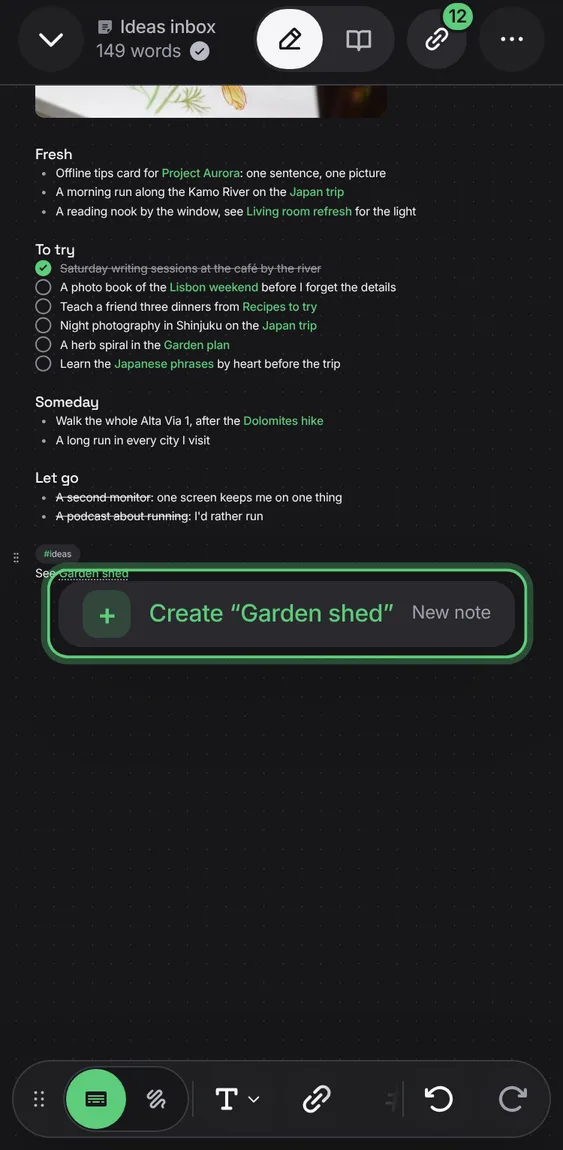
Linking a name no note has yet offers Create after the matches; following the link makes the note.
- Type [[ and a new name; tap Create.
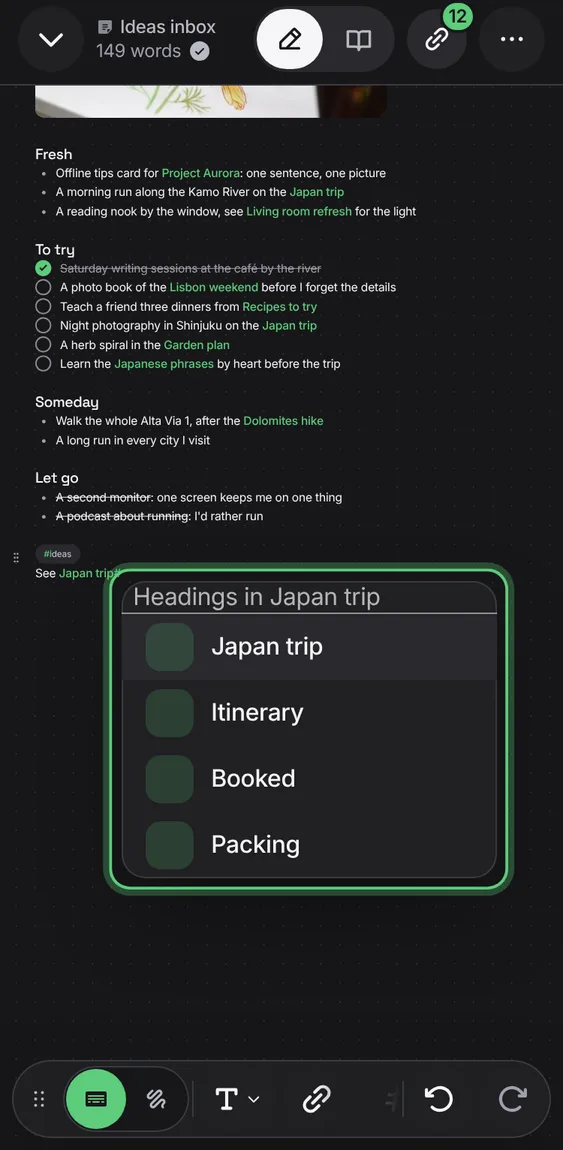
[[Note#Heading]] links straight to a heading, offered as you type, and reads “Note › Heading”.
- Type [[, a note's name, then #.
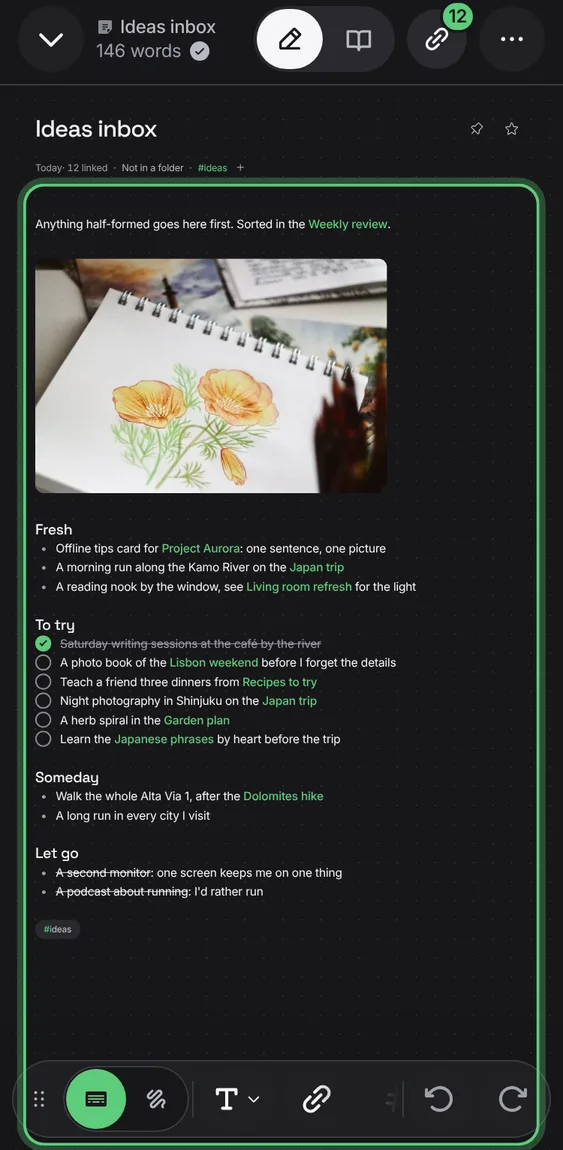
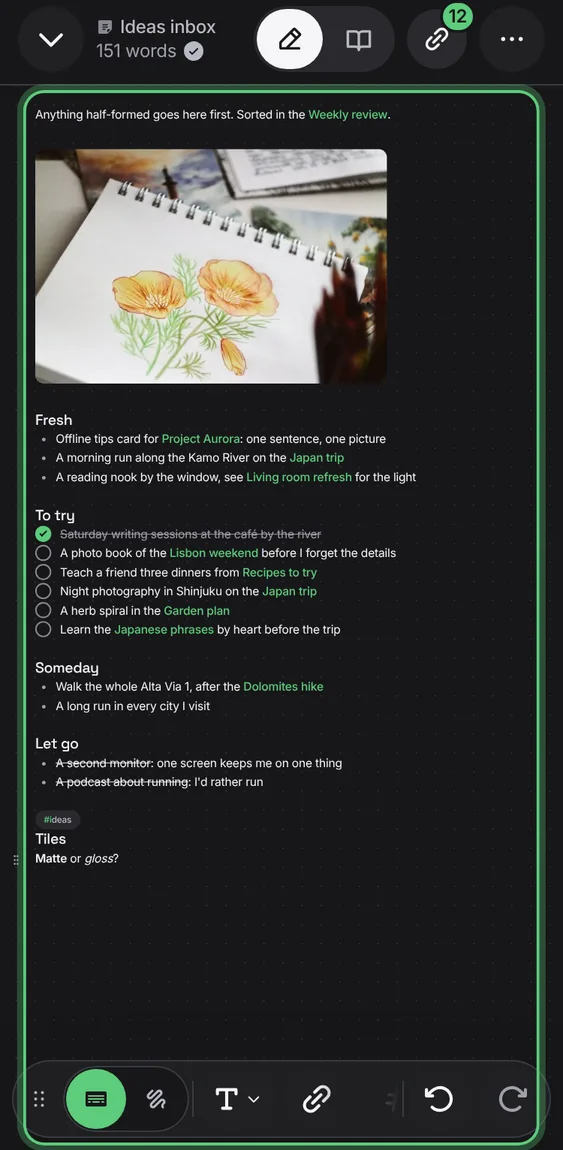
Write in plain Markdown that reads like the finished note as you type: headings, lists, checklists, quotes, code, tables, links and pictures.
- Type, or use Text styles and the toolbar.
- The note is always plain Markdown underneath.
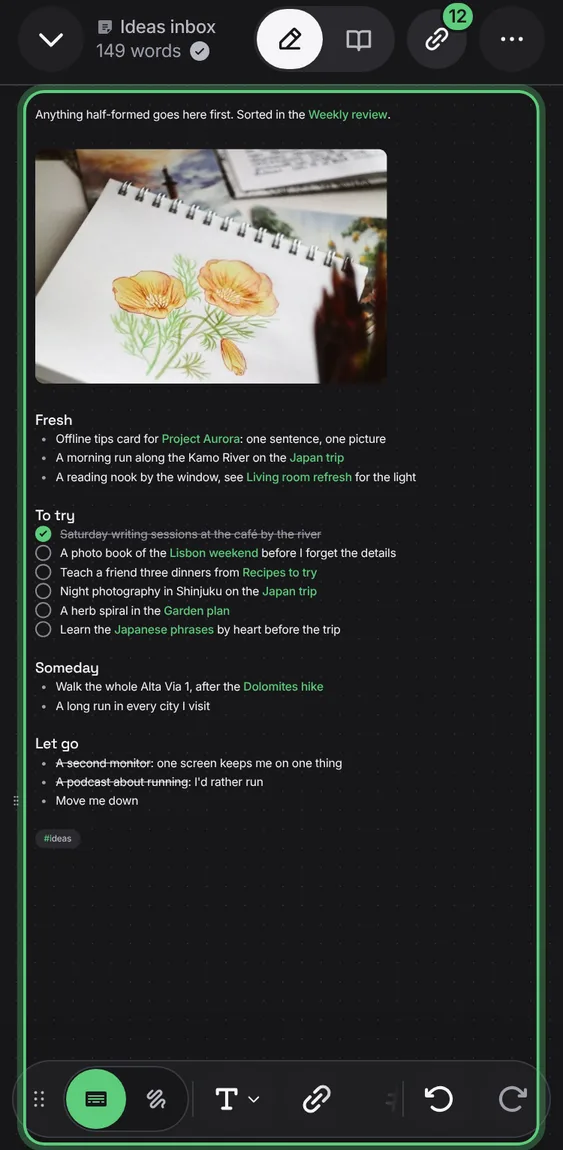
Each paragraph, heading, list item, table or picture has a grip in the margin to drag it, or to Move up, Move down or Delete it.
- Point at a block, or write in it on a touch screen; use its grip.
- ⌥⇧↑ and ⌥⇧↓ move the block you're in.
> [!tip] makes a tinted block with its icon and title: note, tip, warning, question and more, kept as Obsidian writes them.
- Type > [!tip], or pick Callout from the / menu.
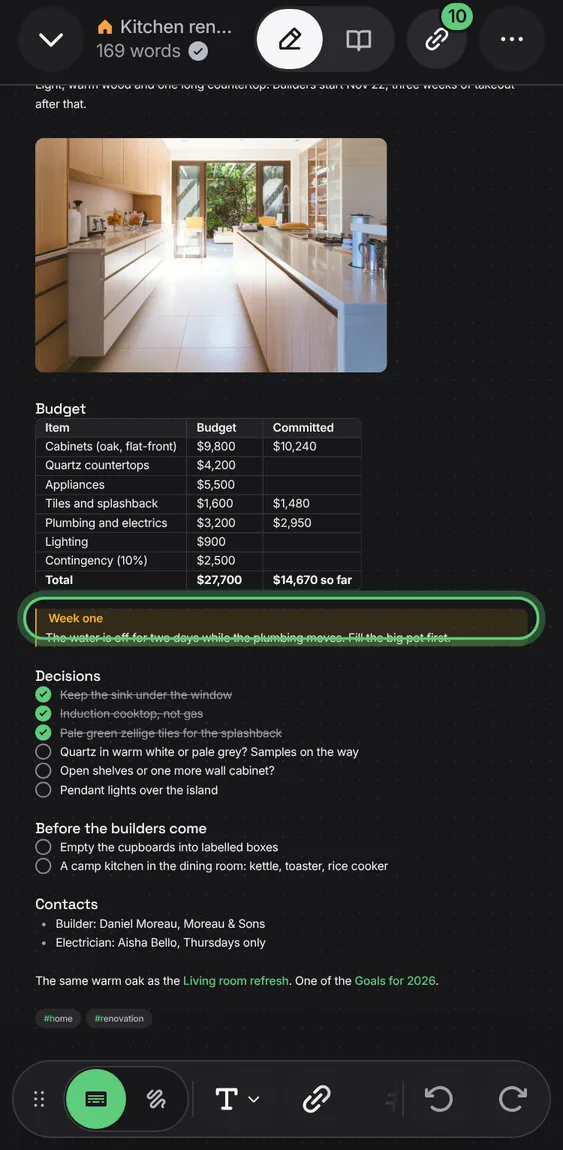
A callout written with - starts folded and says how much it holds; how you left it is kept on the device.
- Tap a folded callout's title to open it.
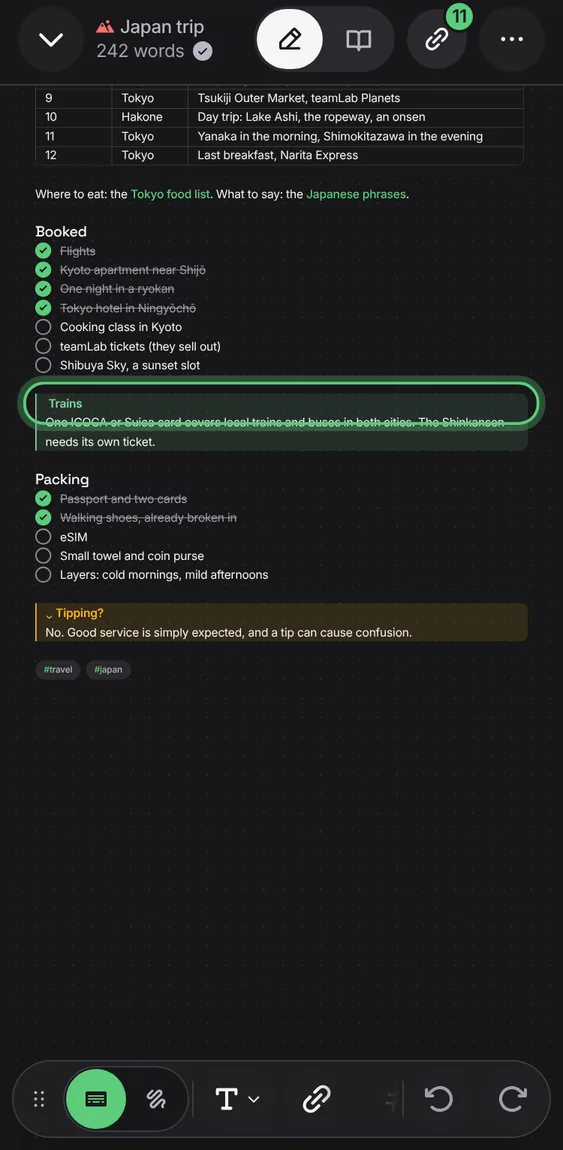
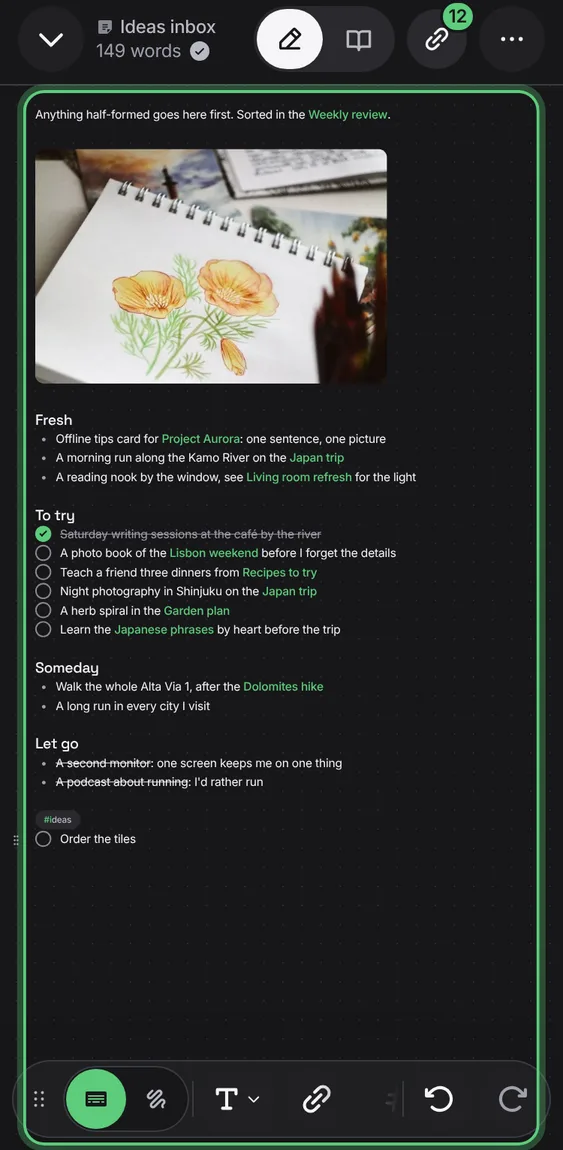
Tasks are real boxes to tick, even a template's empty one.
- Choose Checklist, or type - [ ].
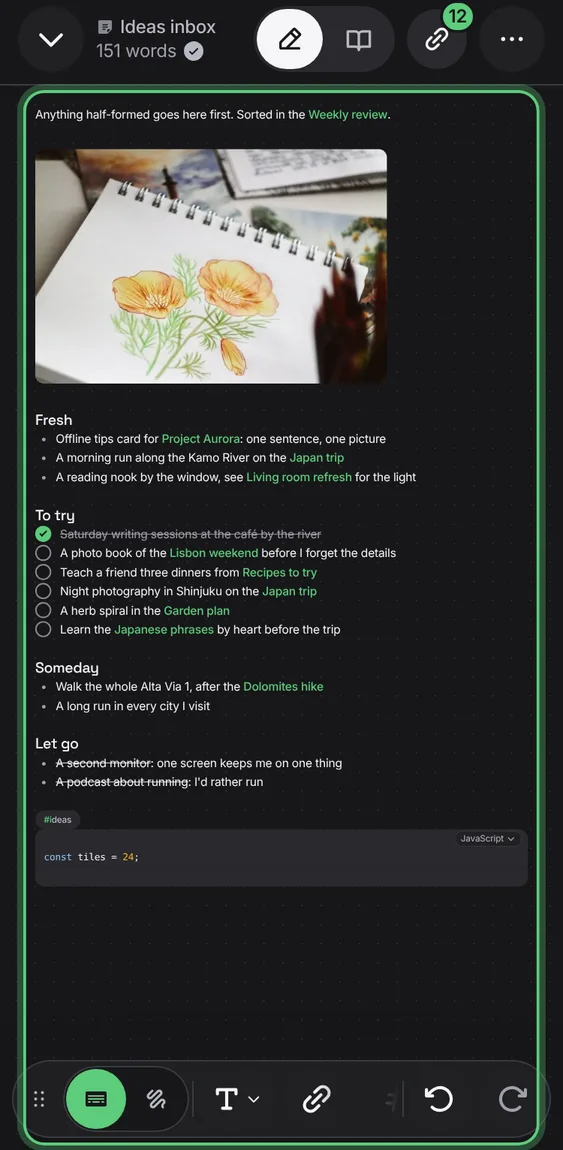
Code is coloured for its language, named at its corner, where a tap changes it; wide code scrolls.
- Type ``` and a language name.
==words== read in the highlighter's yellow.
- Type ==words==, or choose Highlight on a selection.
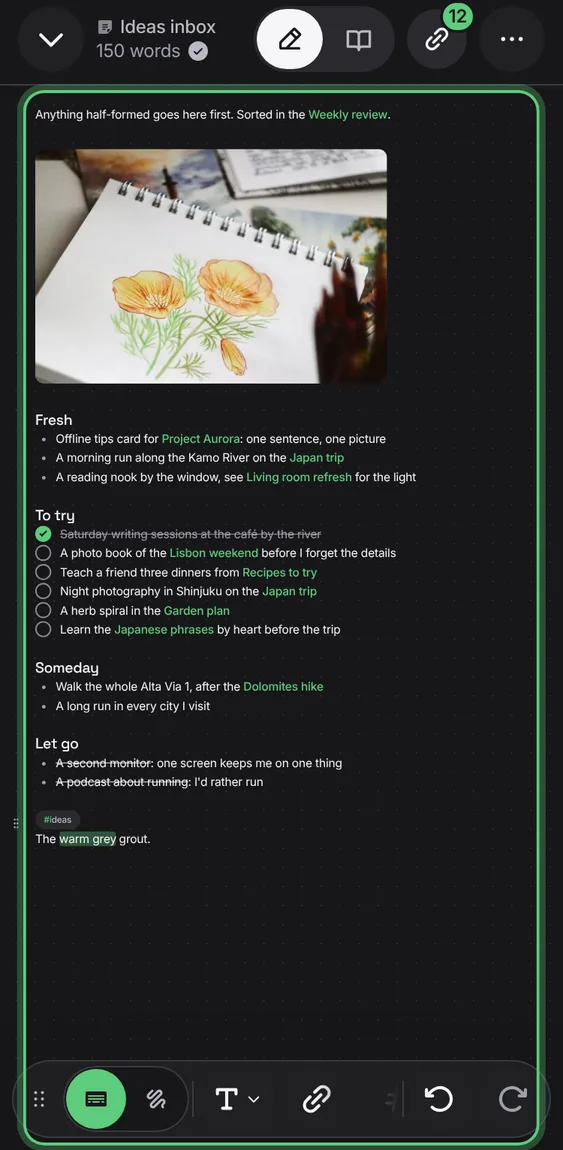
The marks that make headings, bold, quotes and links step aside, even on the line you're writing; bullets are dots and tasks are boxes.
- Type Markdown; it reads as the note.
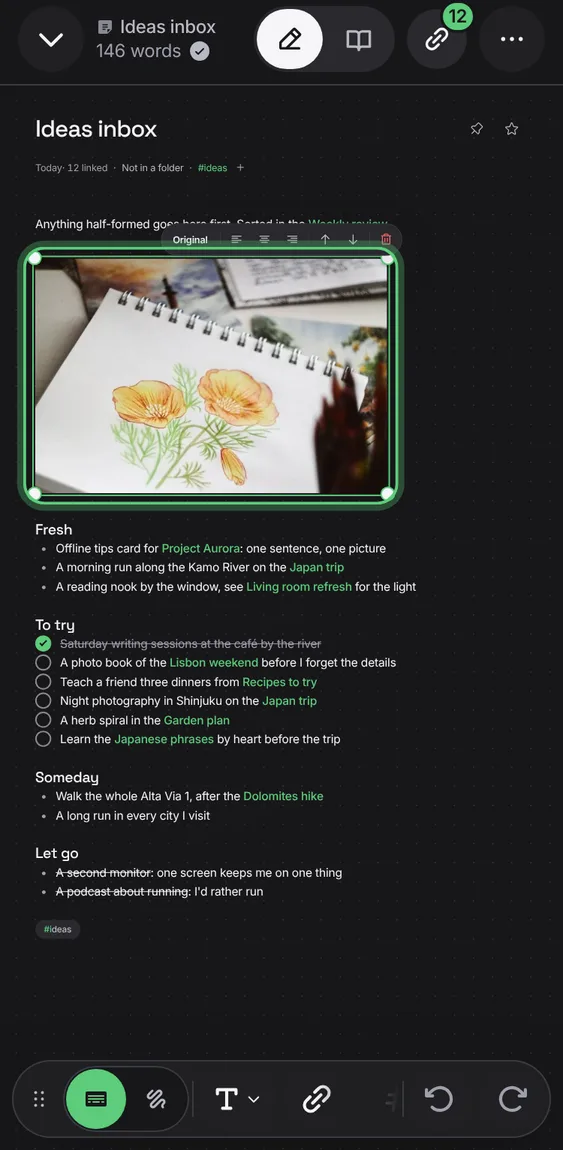
Tap a picture to resize it to a quarter, third, half or the full width, put it left, centre or right, or move it between paragraphs.
- Tap a picture; use its bar or drag a corner.
- Hold it to move it.
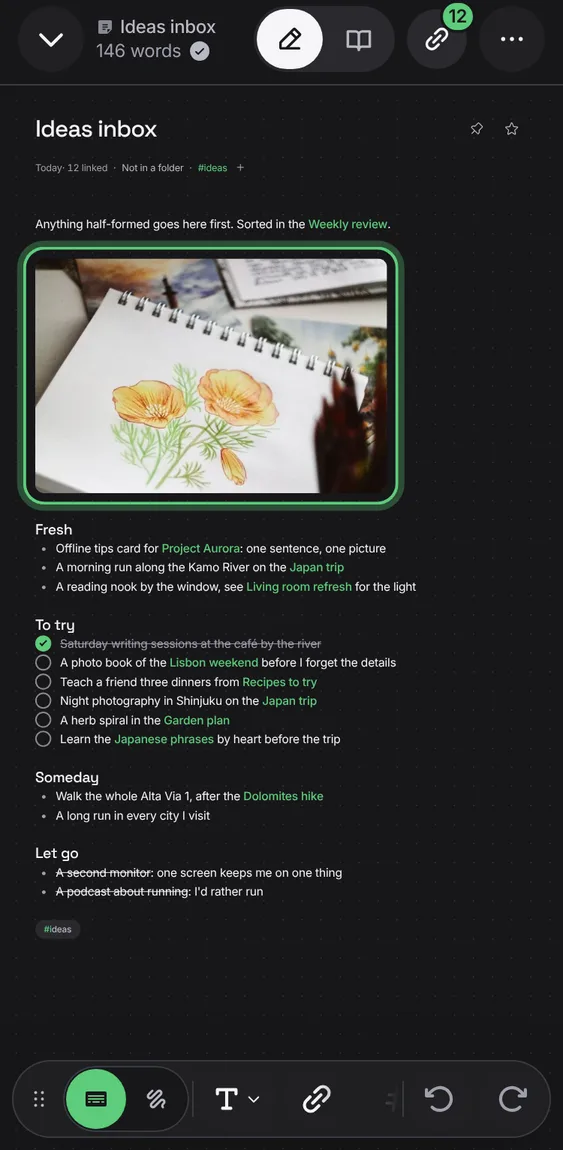
A picture shows a quiet placeholder until it loads, and Image unavailable with Retry only when it can't be shown.
- Nothing to do.
Cambium never rewrites your text: tags go in the frontmatter, and the rest of it stays exactly as written.
- Nothing to do.
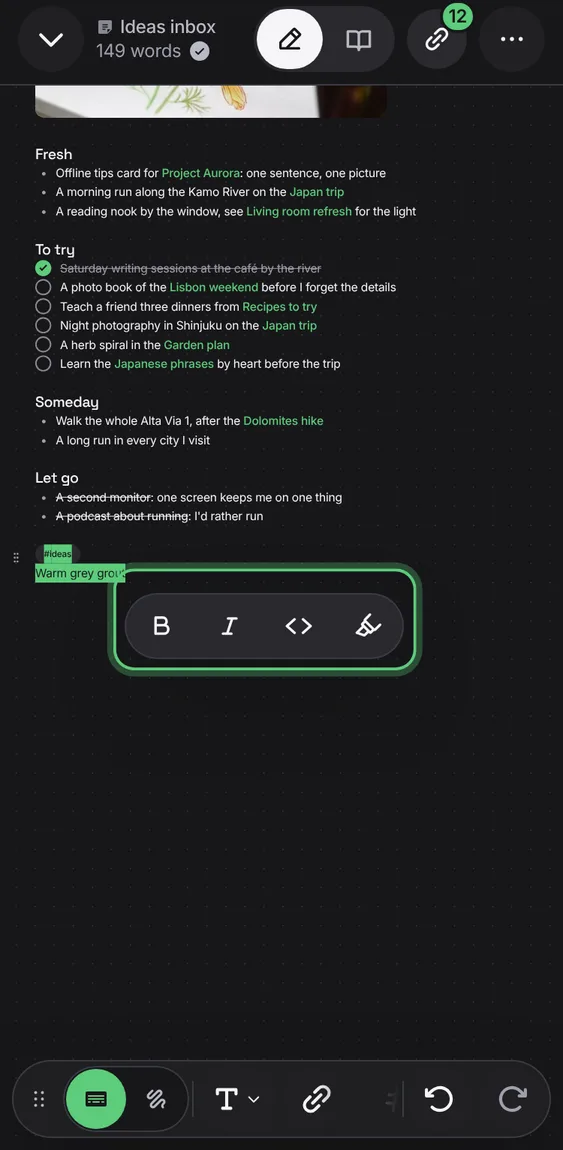
Select words for Bold, Italic, Code and Highlight under the selection; ⌘B, ⌘I and ⌘E work too.
- Select some words.
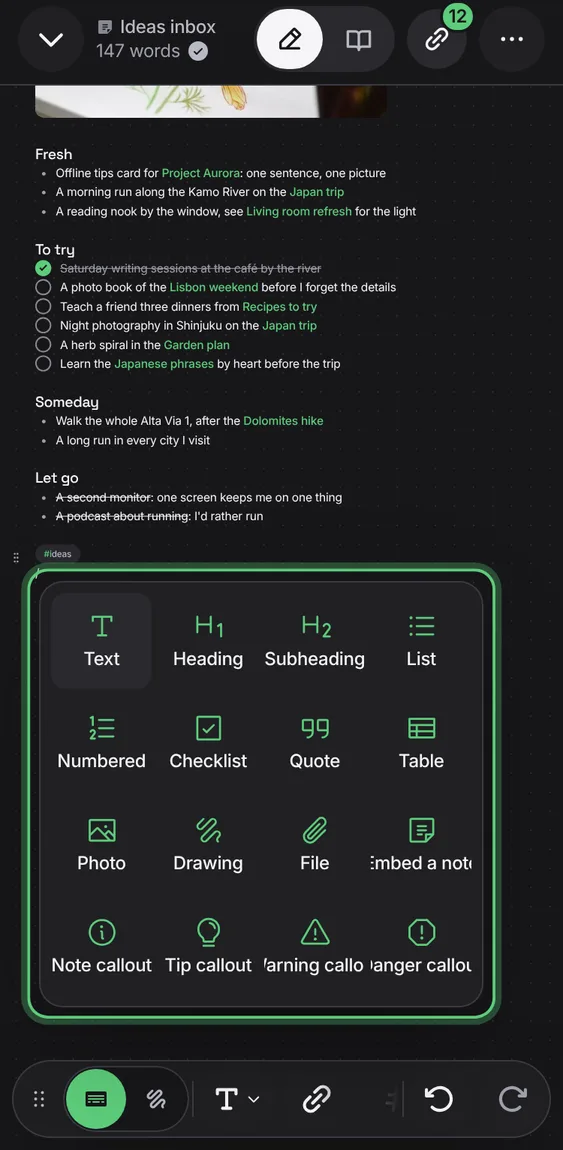
Type / at the start of a line for the text styles, tables, photos, drawings, files, callouts and notes shown inside notes.
- Type / on an empty line; pick one.
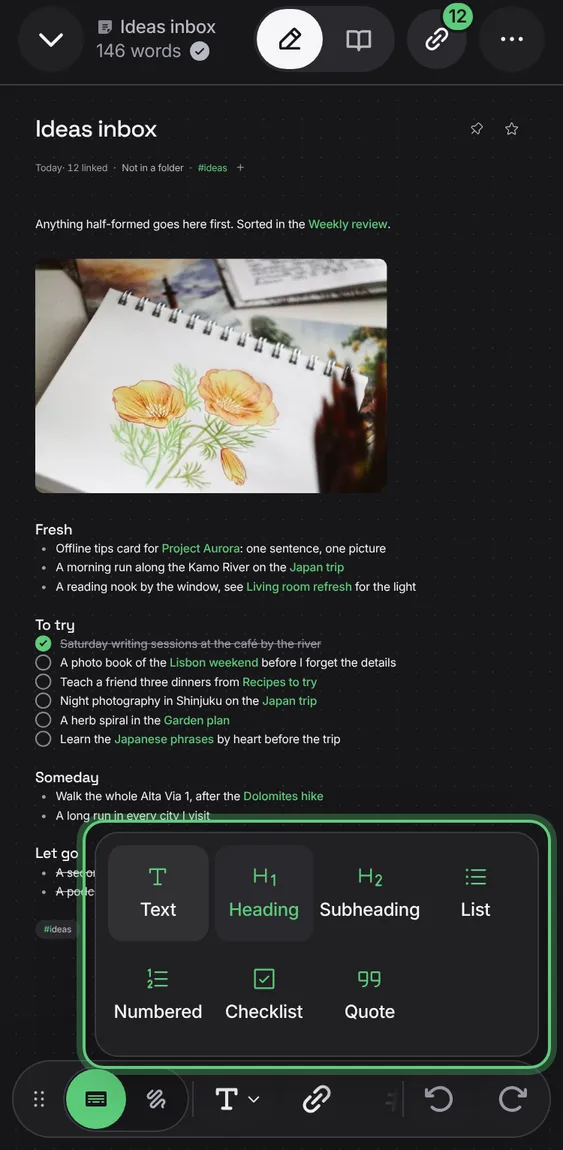
Turn a line into a heading, subheading, list, numbered list, checklist or quote, or back to text.
- Tap Text styles in the toolbar and pick a style.
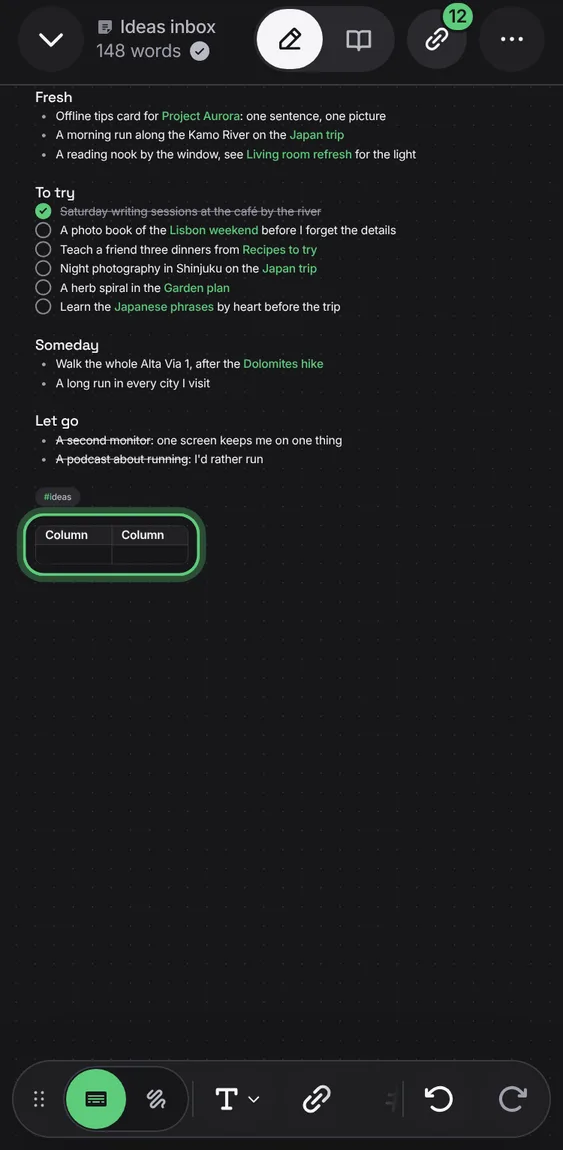
Type into a table cell by cell; grips add, move, align and delete rows and columns, and + adds one between.
- Tap Table in the toolbar.
- Tab moves to the next cell.
[[ gives [[]], ** gives **|**, and brackets and marks close for you; a selection is wrapped in the mark you type.
- Type [[ or ** as usual.
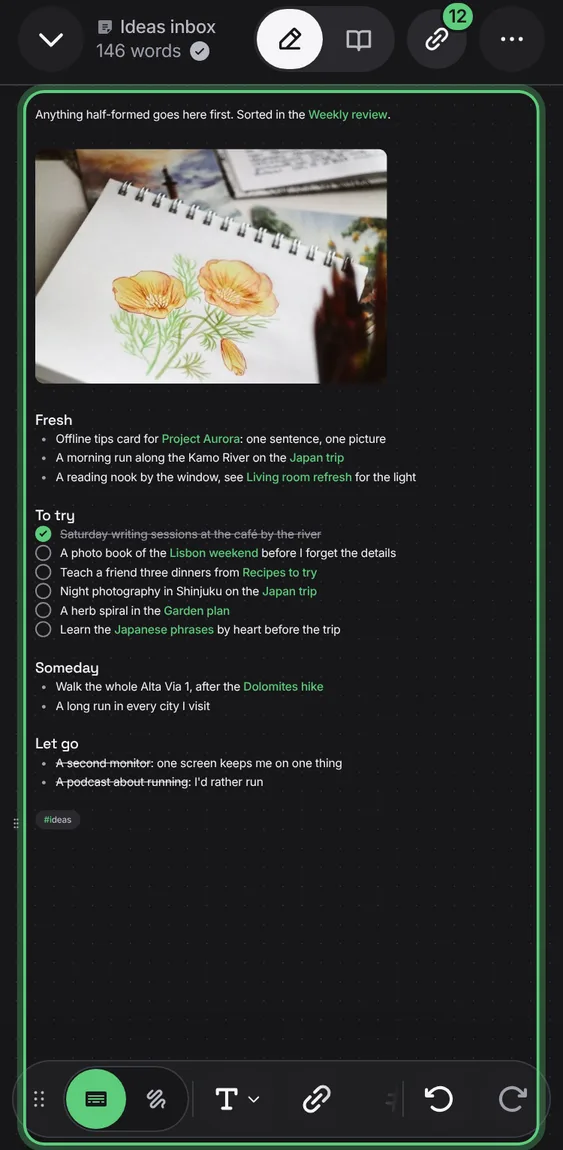
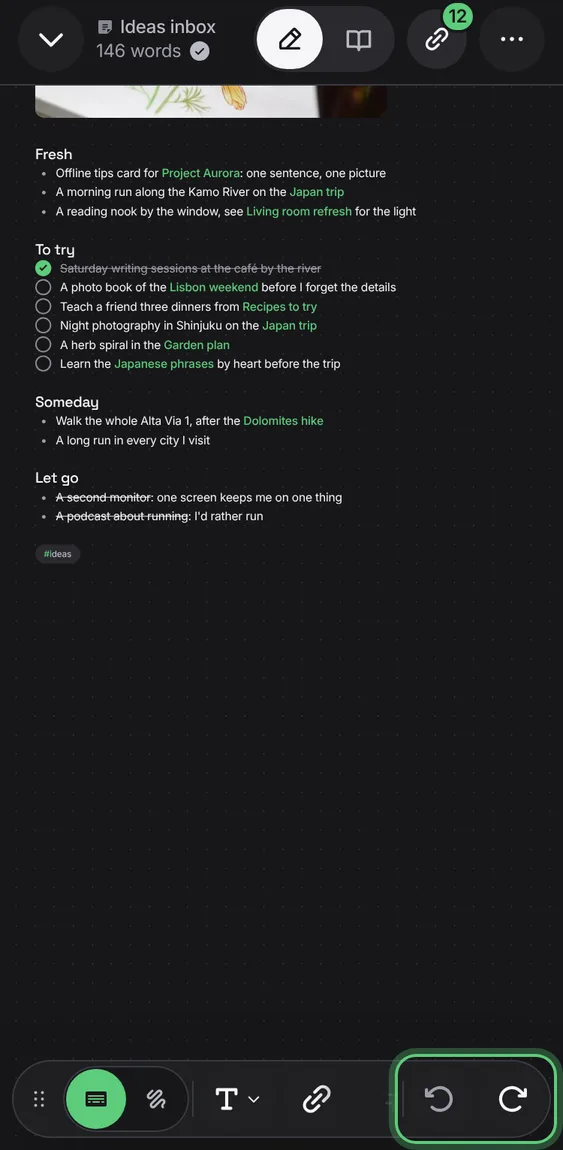
Undo and Redo are at the end of the toolbar.
- Tap Undo or Redo, or press ⌘Z.
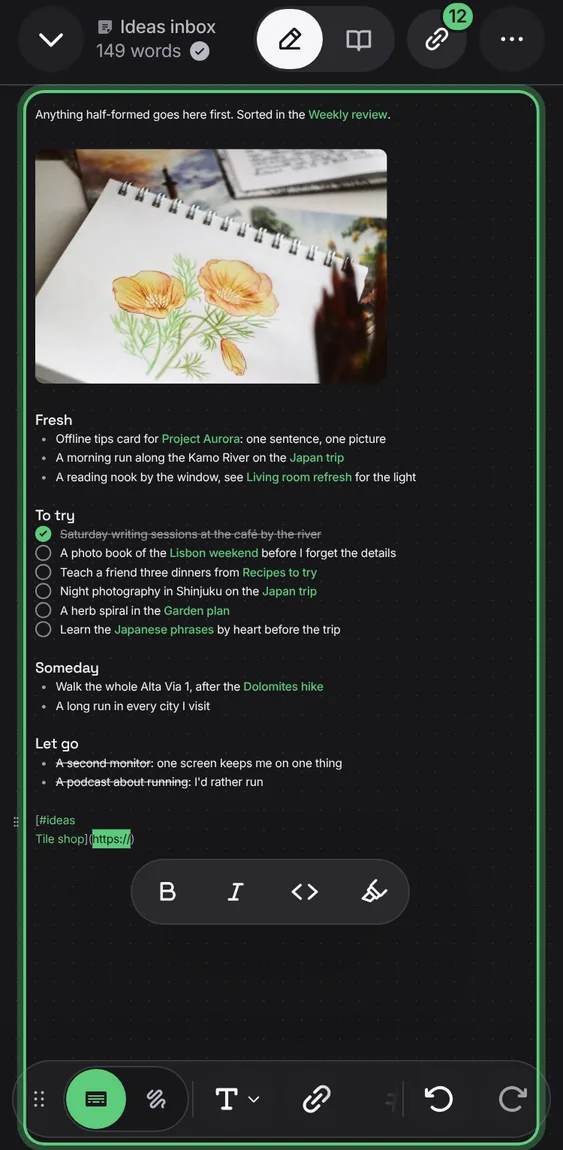
A web link reads as its words; with the caret in it, a card shows where it goes with Edit and Open. Paste an address over words to link them.
- Paste a link over selected words, or press ⌘K.
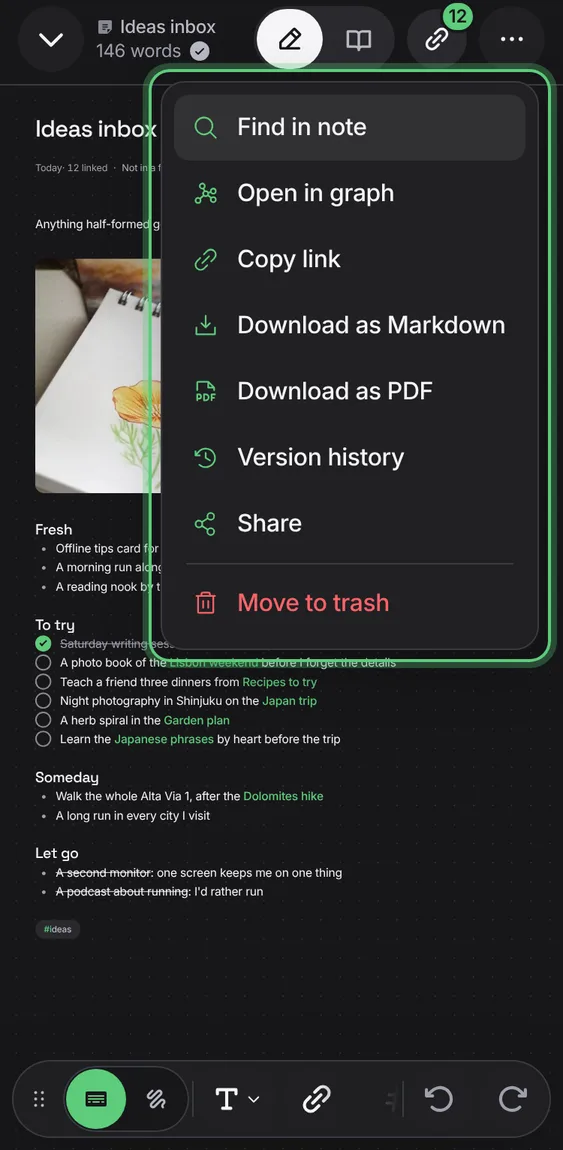
The rarer things to do with a note: find, open in the graph, copy its link, download it, its history, share it and move it to trash.
- Tap More in the note's bar.
Shows the note on the Graph tab.
- Tap More → Open in graph.
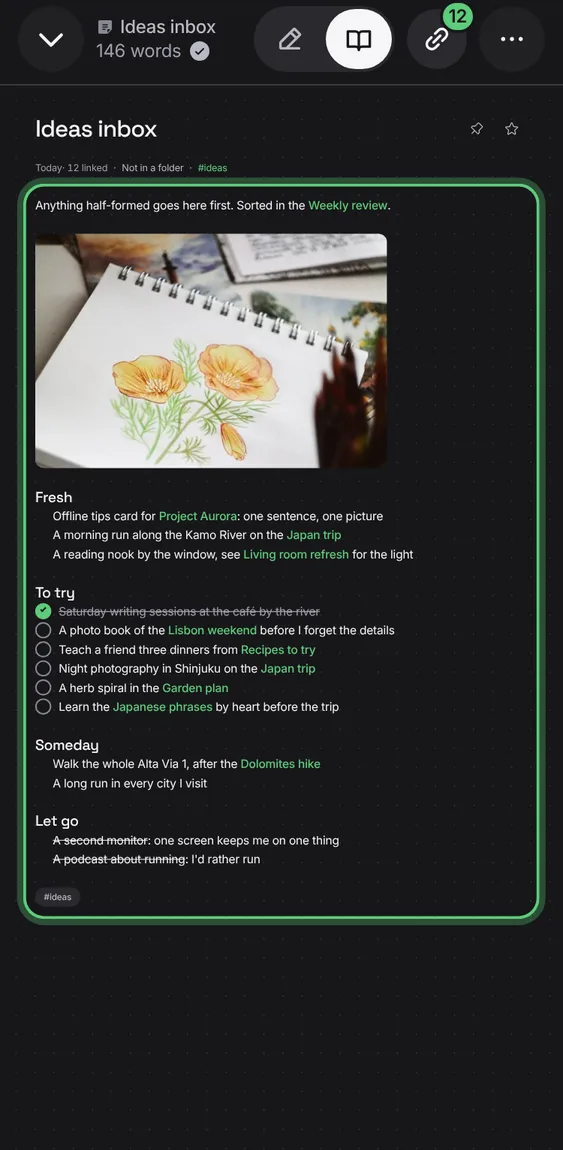
Switch a note between writing and reading; on a wide screen, see both side by side.
- Tap Edit or Read in the bar.
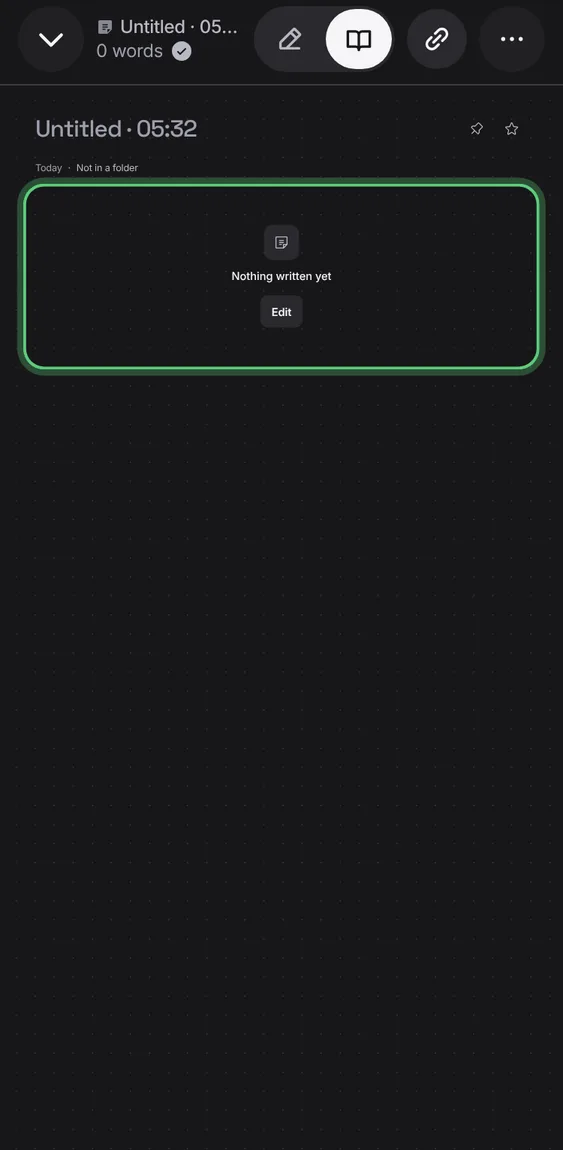
Reading an empty note shows one quiet line with Edit, never a blank page.
- Open an empty note in Read.
On a computer, writing and reading show next to each other.
- On a wide screen, tap Side by side.
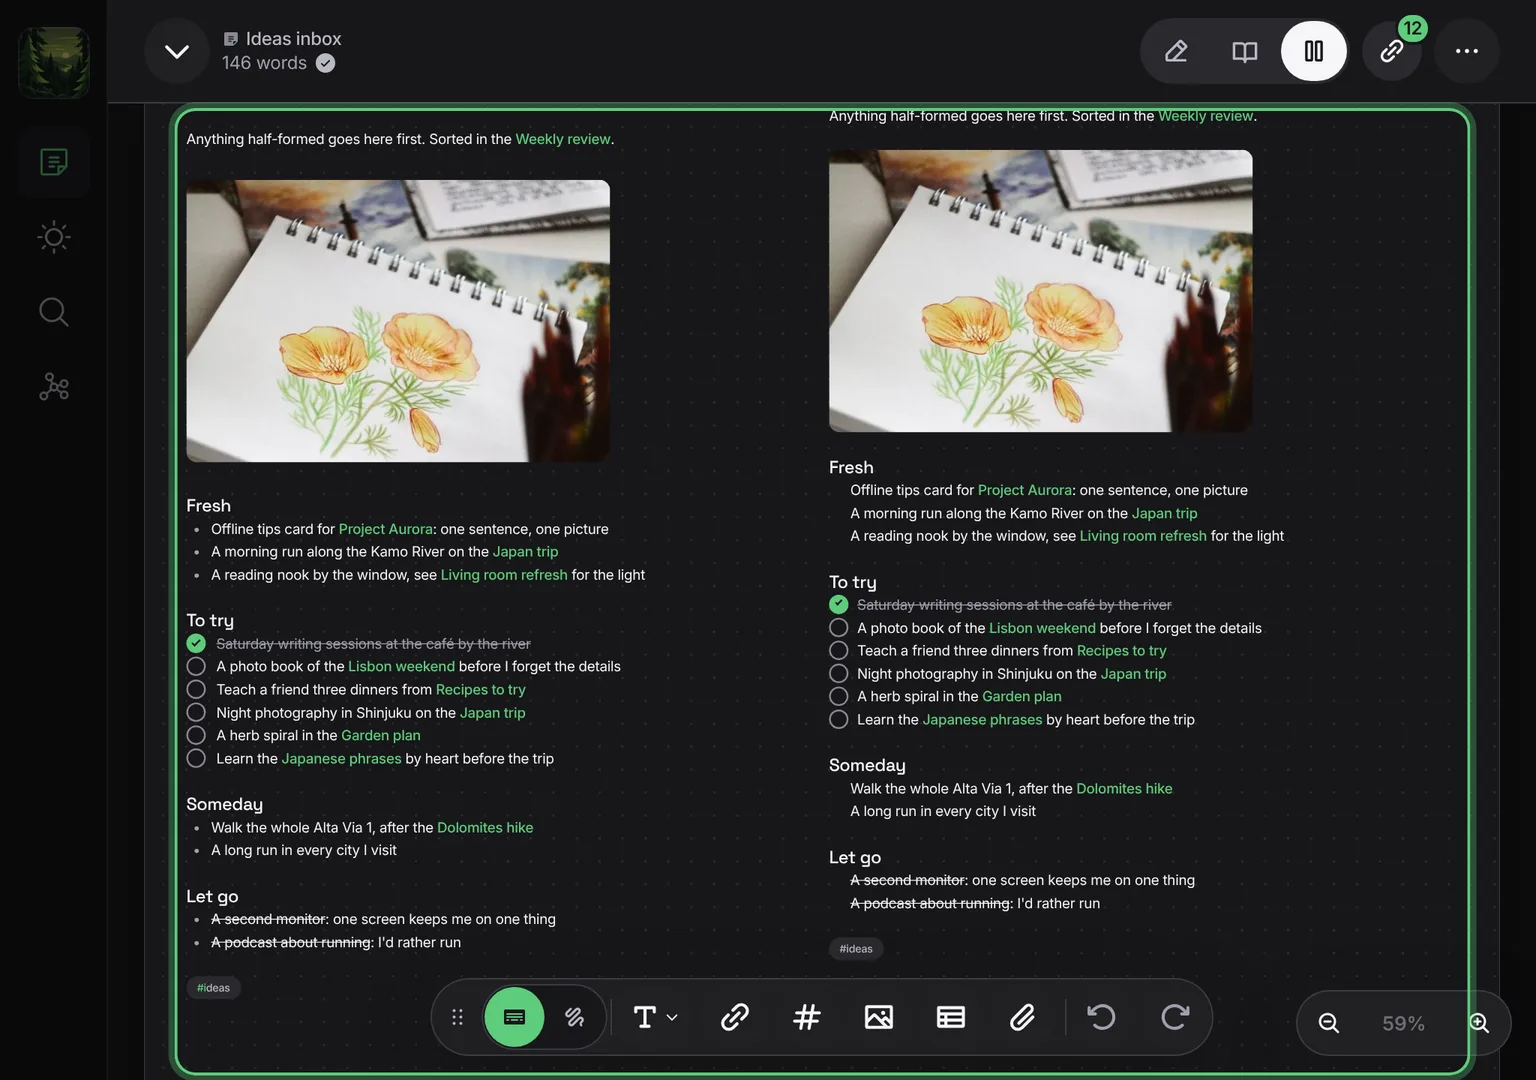
Shown at a computer’s width.
Checklist boxes tick in Read, and in the daily glance, without opening the editor.
- Tap a box in Read.
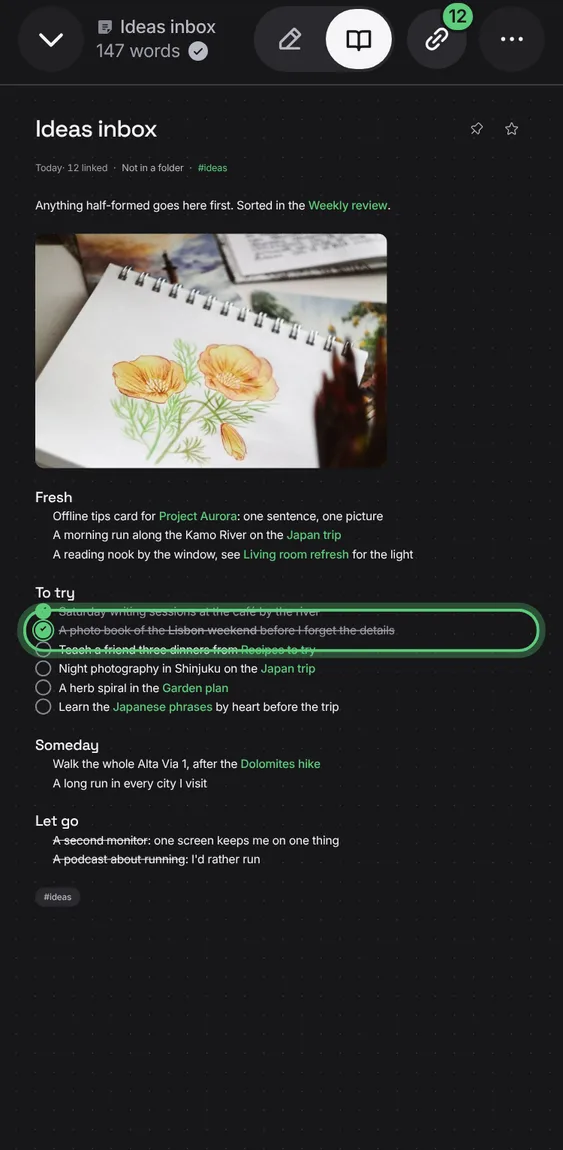
The note is a page the same width on every screen, so text and ink line up everywhere. On a computer or tablet it sits on a desk; on a phone it fills the screen.
- Open a note.
- Scroll down; the page grows as you write.
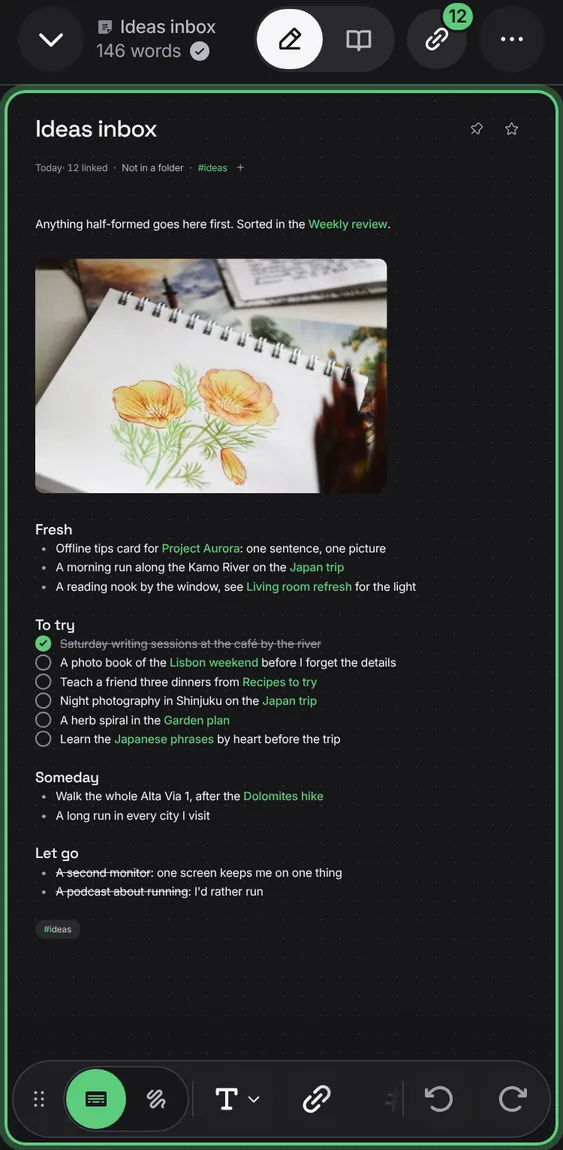
A note opens over the list at every width, which stays as it was underneath; Back returns to it.
- Open a note; tap the caret or Back to go back.
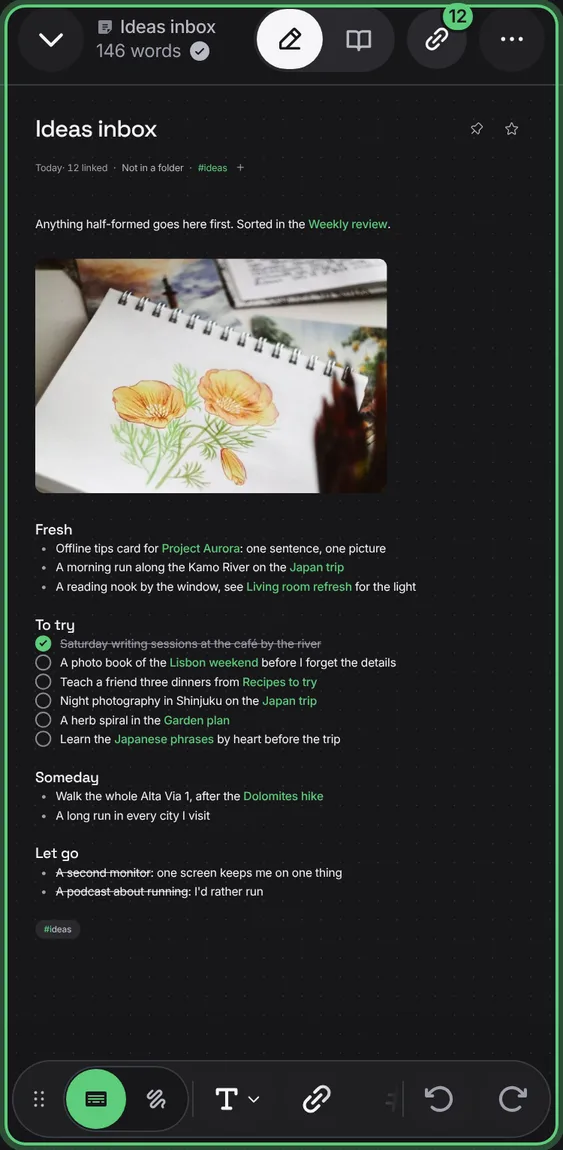
The line you're writing stays clear of the toolbar and, on a phone, near the middle above the keyboard, and the page doesn't jump as you type.
- Type; the page keeps the line in view.
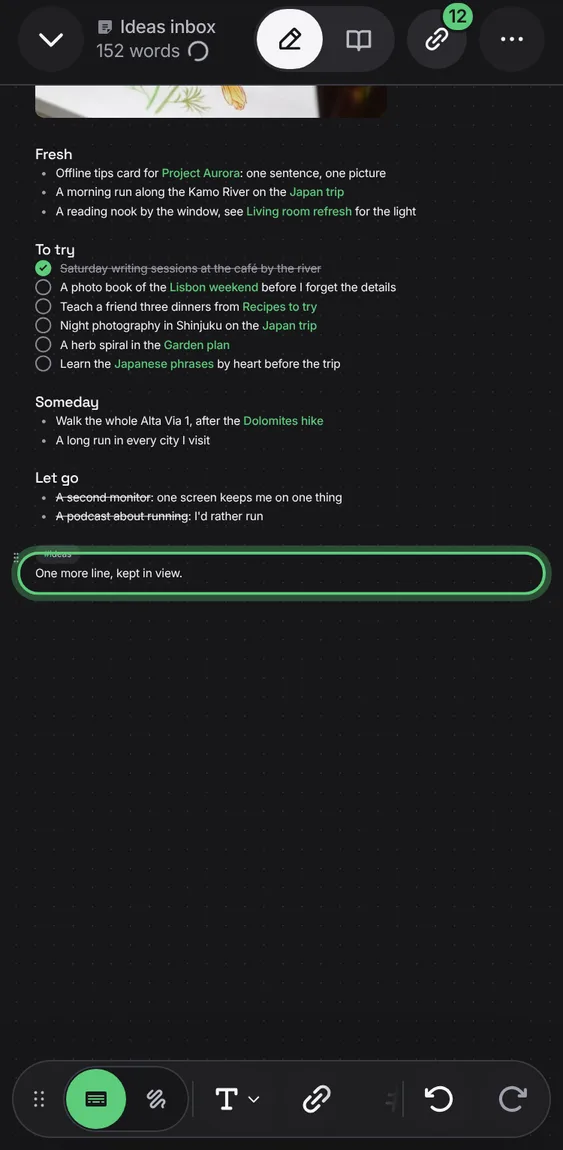
Every note is on dark dotted paper, each line of writing in the middle of its row.
- Nothing to choose: every note has it.
A tap below the writing puts the caret on that line, adding blank lines down to it.
- Tap anywhere on the empty part of the page.
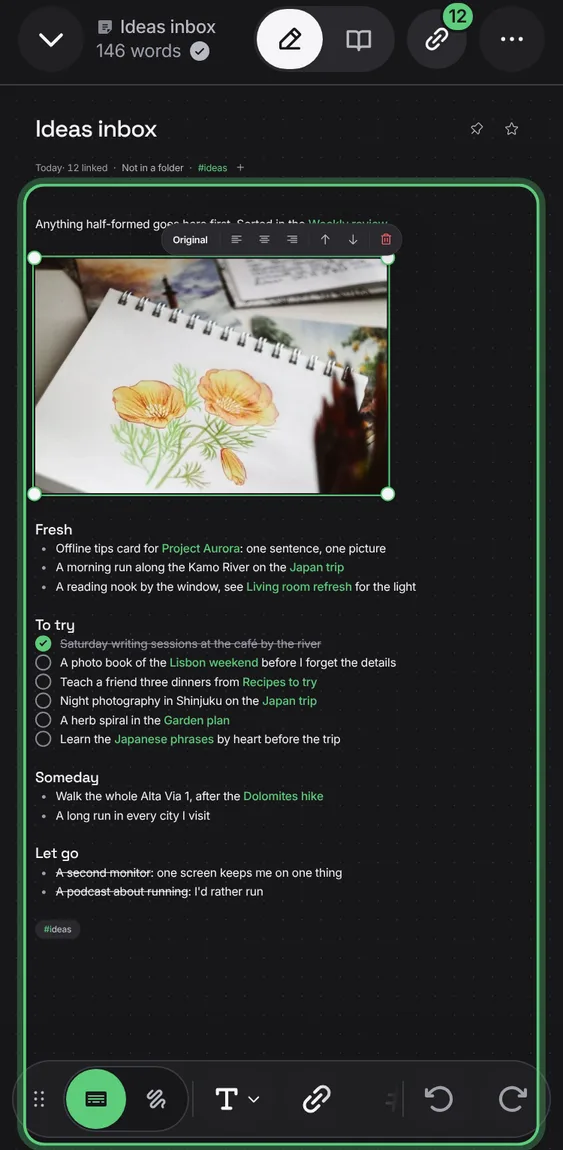
Pinch, Ctrl or ⌘ with the wheel, or the zoom buttons zoom the page from 35% to 400%; two fingers move it. On a phone a tap on the zoom fits it to the width again.
- Pinch the page, or use Zoom in and Zoom out.
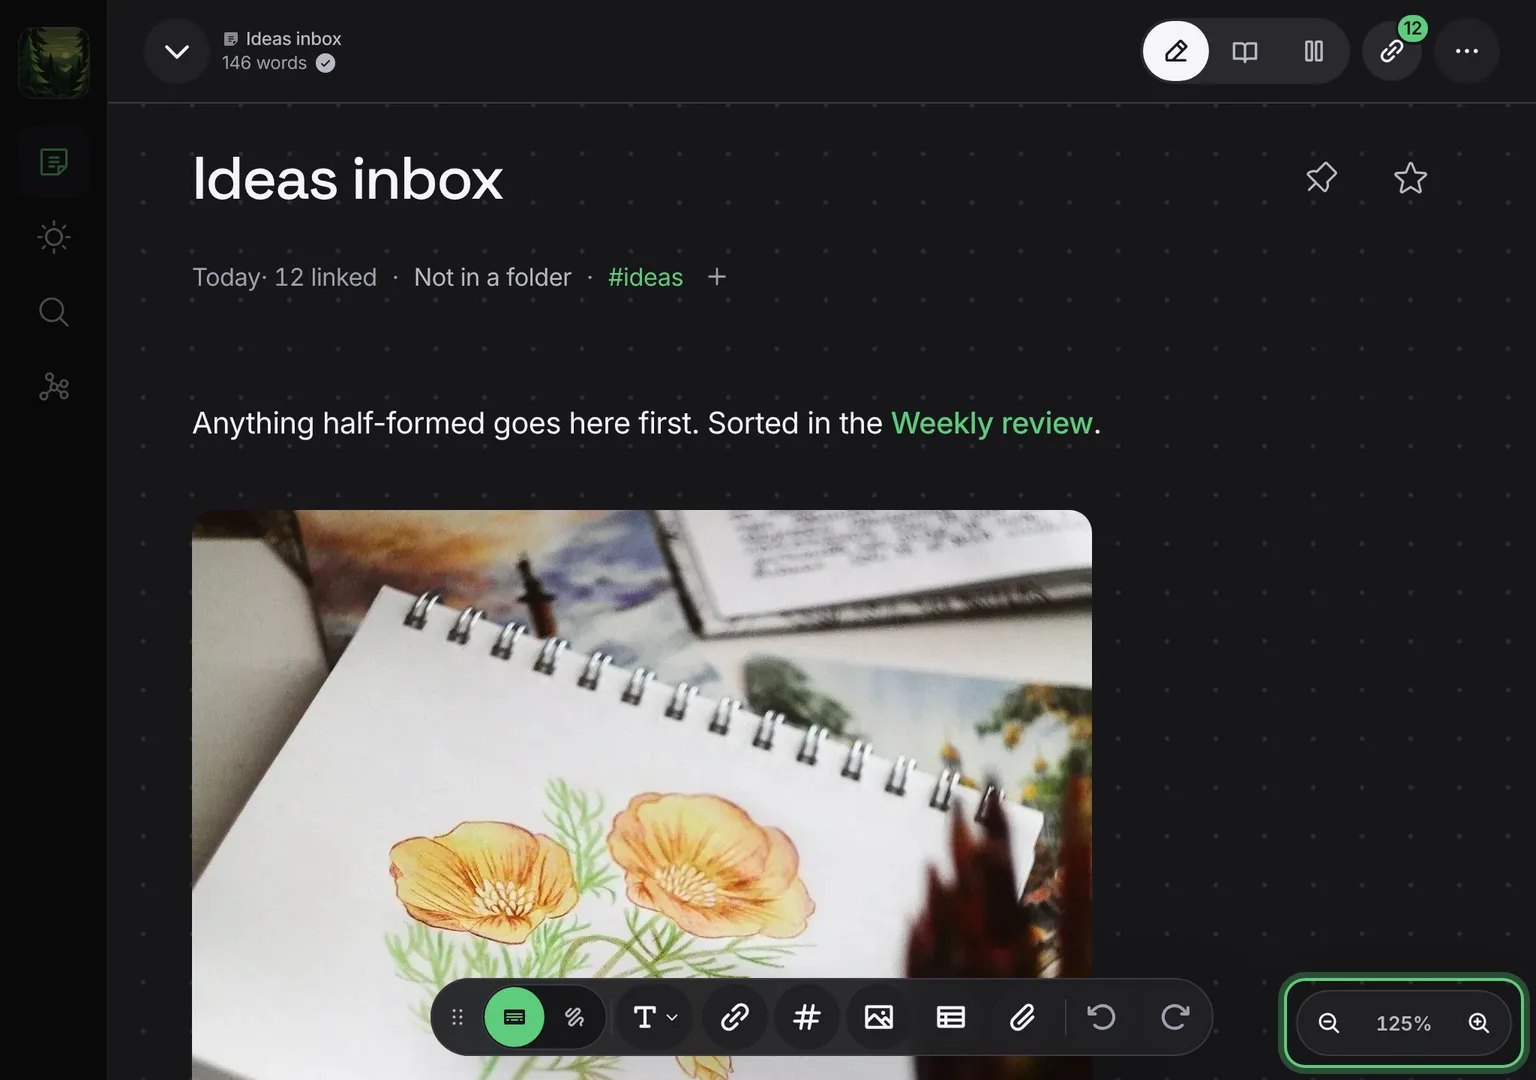
Shown at a computer’s width.
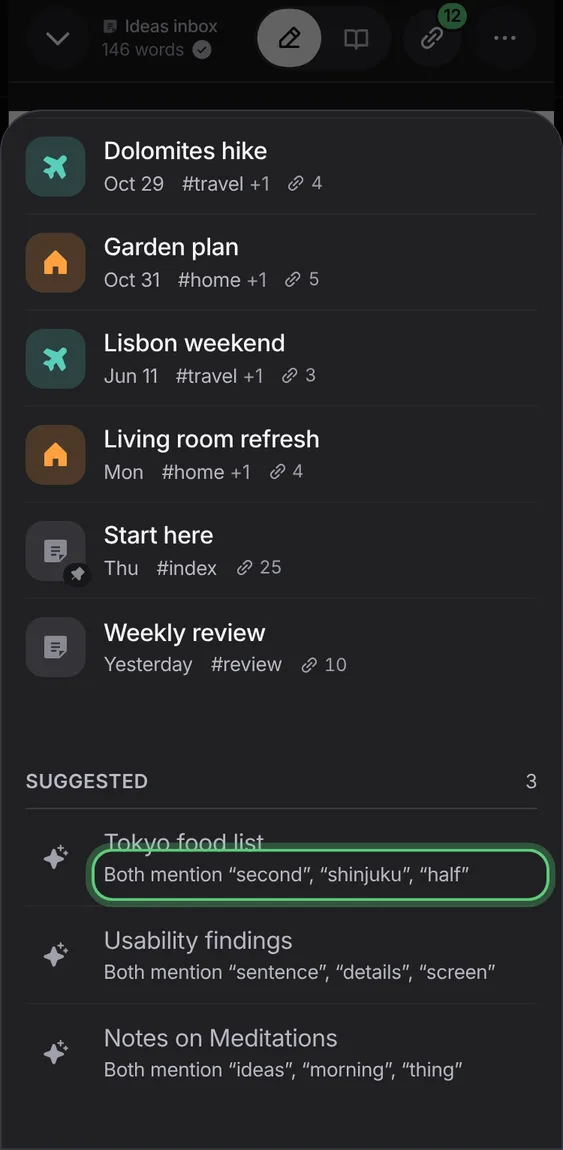
Notes close to this one, found for you and listed under Suggested in Links with why: online by meaning, offline by shared tags and uncommon words. Nothing is written into your note.
- Open Links; Suggested comes after the links you made.
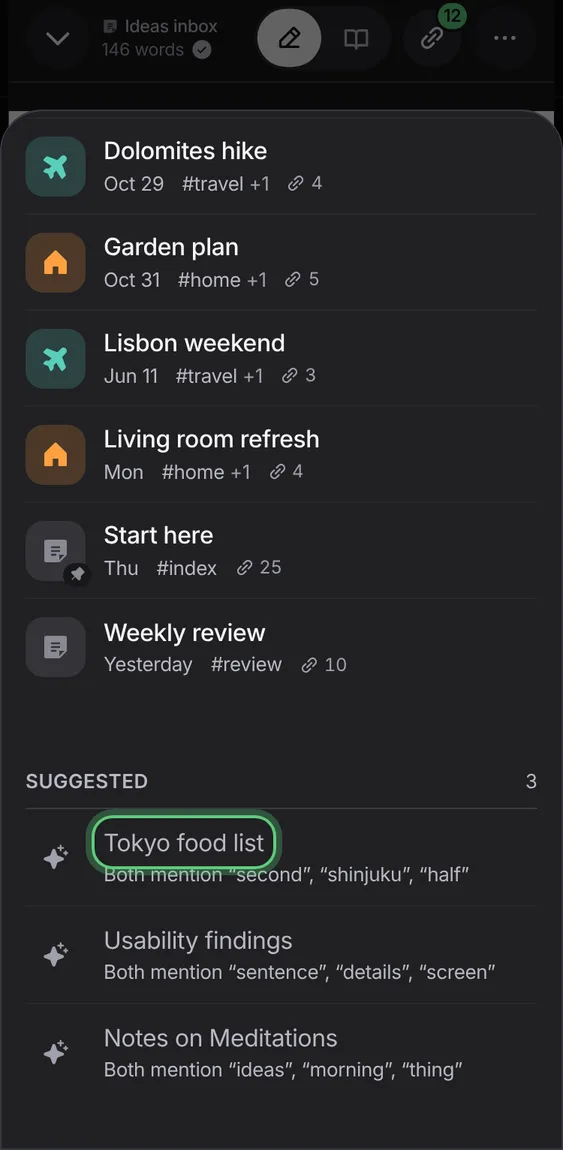
Offline and in the demo, notes sharing tags and uncommon words, with why.
- Open Links in a note.
A sketch already in a note opens full screen to draw on, on dark paper; the note keeps it as a card as tall as what's drawn.
- Tap a sketch in a note.
- Close it to put it back in the note.
Not in the demo. Needs a file from your device.
All 4 in Sketch cardsDraw over a photo in the note; the photo and its ink stay together as one picture.
- In Read, tap a photo, then draw on it.
Not in the demo. Needs a file from your device.
Clears every stroke, after a confirmation; Undo brings them back.
- In Sketch options, tap Clear sketch.
Not in the demo. Needs a file from your device.
Closing a sketch before it's in the note keeps it on the device, under Unfinished, until you resume or discard it.
- Tap its Unfinished row to resume it.
Not in the demo. Needs a file from your device.
Loop strokes to recolour, duplicate or delete them.
- Choose the lasso and draw a loop.
Not in the demo. Needs a file from your device.
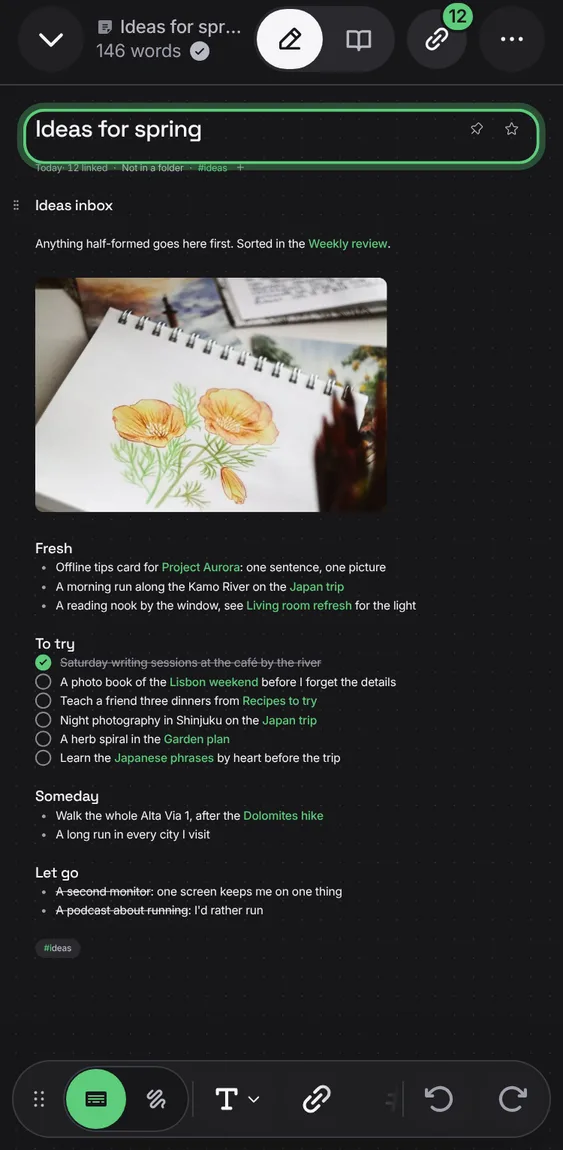
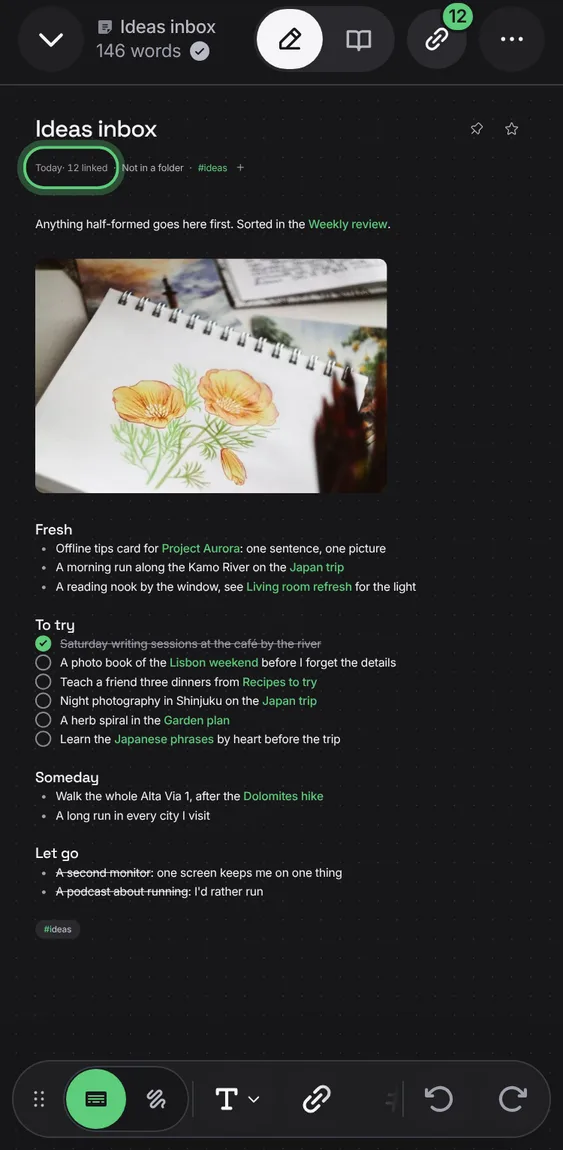
The title with Pin and Favorite beside it, and one quiet line under it: when it was edited, how linked it is, its folder and its tags.
- Tap the title to rename the note.
- Tap the date to open Note info.
A date or time title reads like “Sat, Sep 26 · 10:00”; the note keeps it as written.
- Nothing to do.
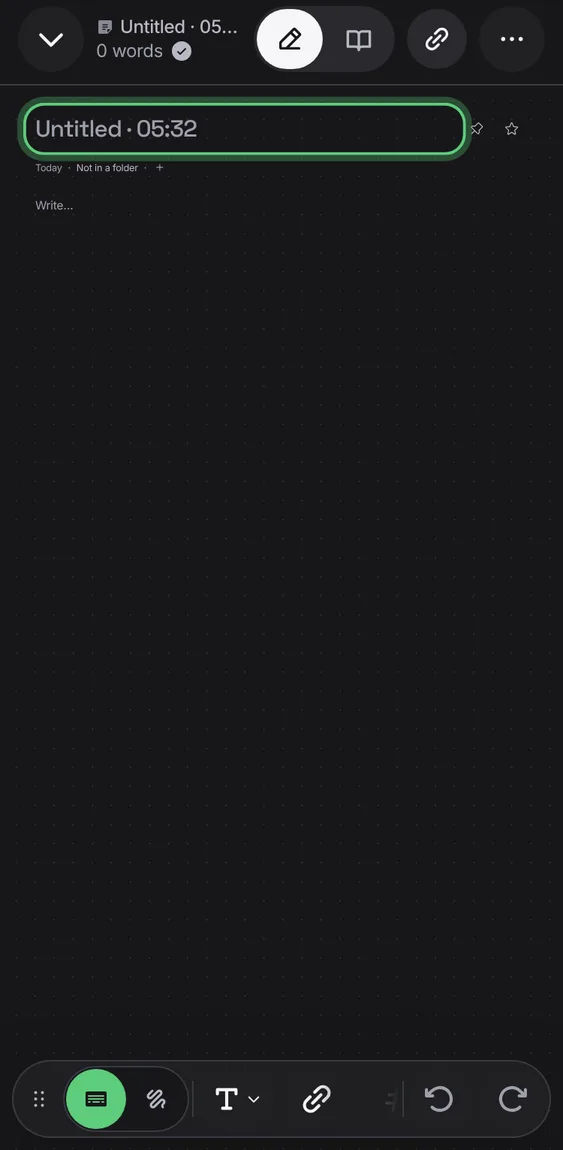
A new note is titled by the time it was made, shown as Untitled with the time until you name it.
- Type a title, or leave it.
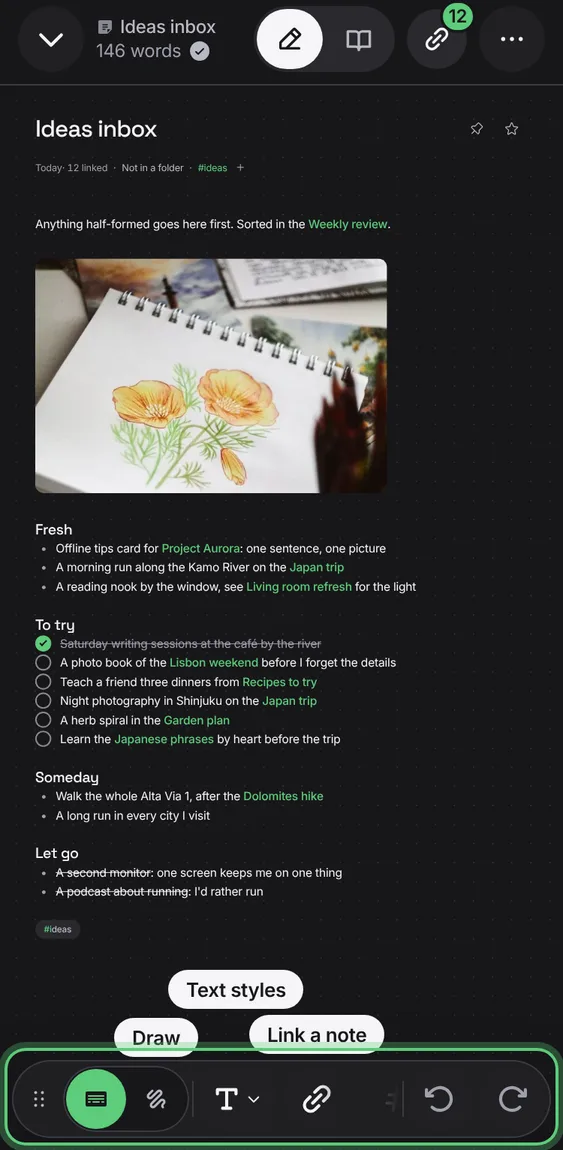
One floating bar: Write or Draw, then text styles, Link a note, Tag, Photo, Table, File, Undo and Redo.
- Use the bar at the foot of the note.
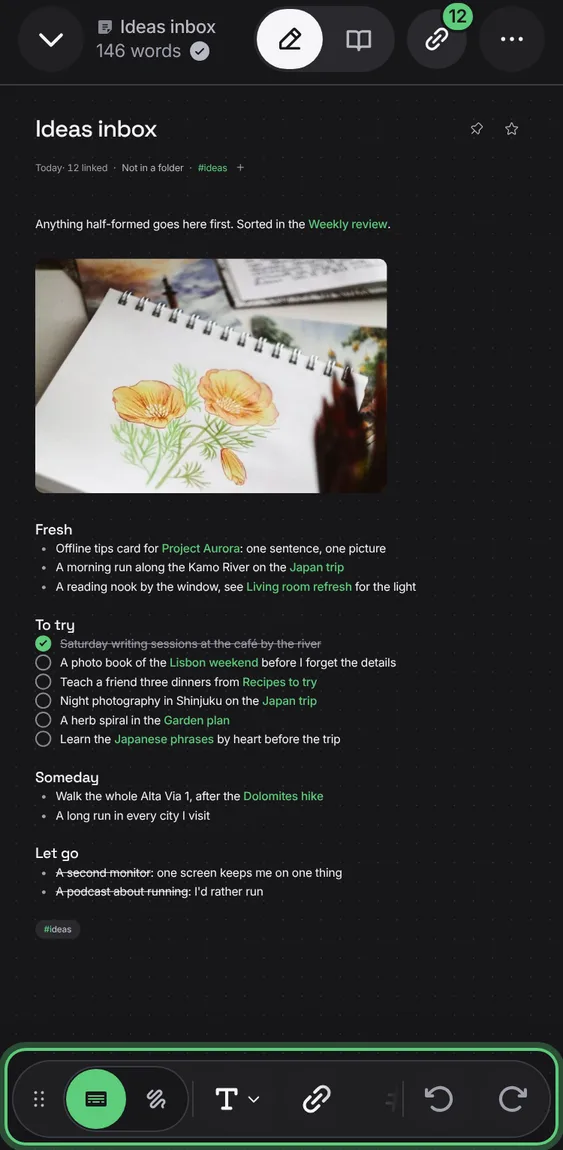
Each has its own button, so adding a picture or a file is one tap.
- Tap a button; it goes where you're writing.
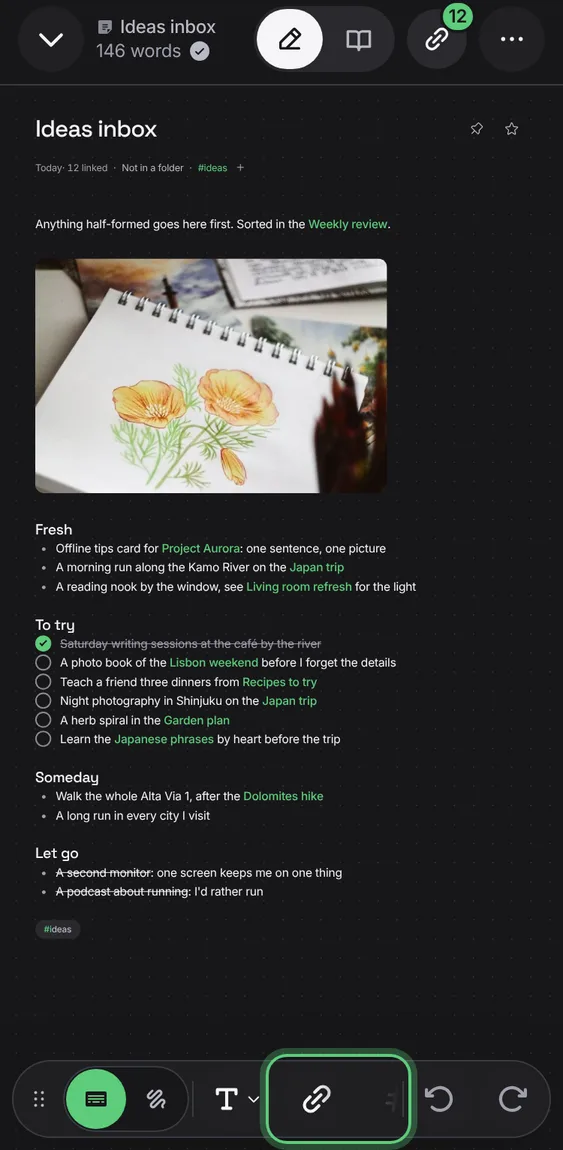
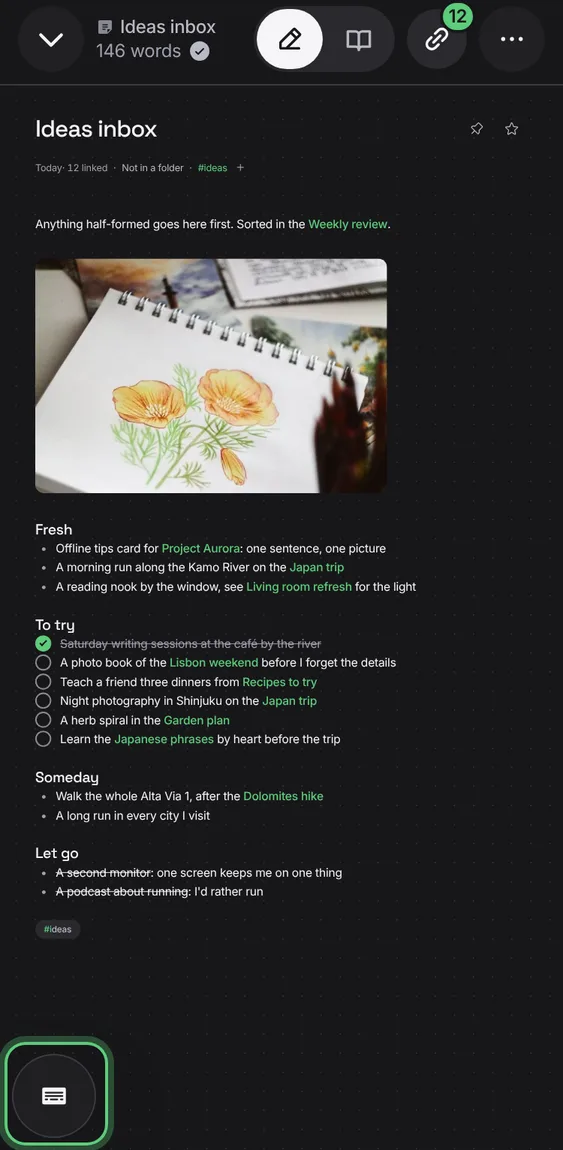
Drag the bar by its handle anywhere over the note, or against a side to stand it up; tap the handle to fold it to one button. It stays where you left it.
- Drag the six dots; tap them to fold.
On a phone, the toolbar's tools say their names the first time you write.
- Nothing to do.
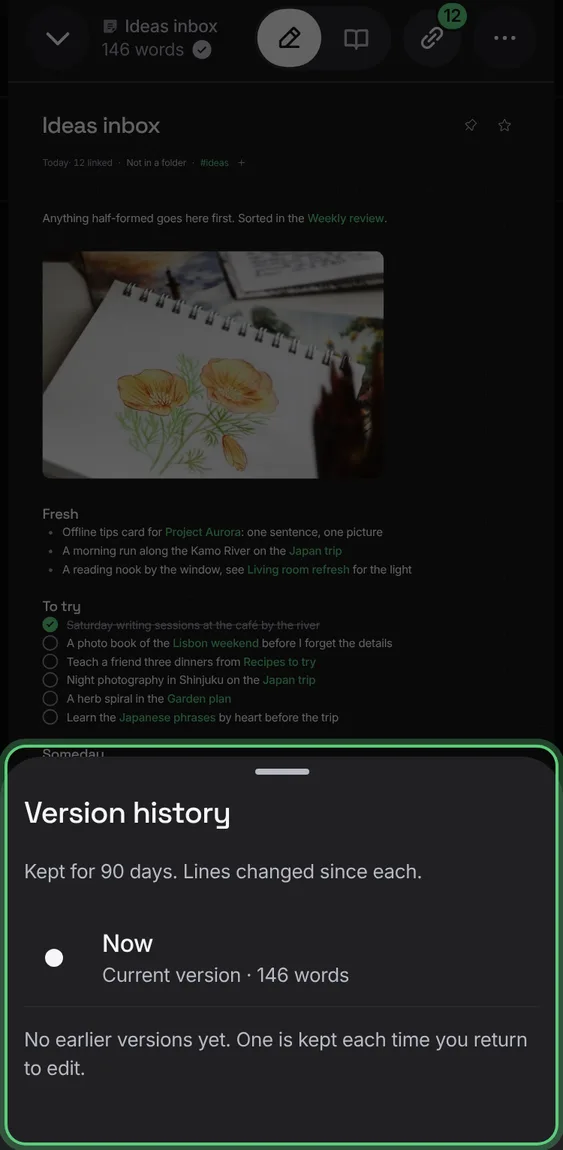
A version is kept each time you come back to edit, for 90 days. See what changed since any of them in lines, and restore one; the current text is kept too.
- Tap More → Version history.
- Choose a version; tap Restore this version.